2016-08-04 16:34:29

OrangeBoard WiFi는 기존 OrangeBoard에 WiFi모듈을 장착하여 하나의 보드안에서 아두이노의 기능과 WiFi를 사용할 수 있게 하였습니다.
아두이노에 수많은 데이터를 웹에서 가져올 수 있는 WiFi모듈을 결합하였기 때문에 사용자들은 기존의 아두이노보다 한 단계 더 넓은 범위를 바라보고 사용할 수 있습니다.
이번 글에서는 WiFi보드를 WebServer로 사용하는 예제를 실행해보도록 하겠습니다.
통신을 하기 위해서는 접속하려는 사람(Client)과 접속당하는 위치(Server)가 필요합니다. WiFi보드도 통신의 한 종류이기 때문에 Client와 Server가 존재해야 통신을 한다라고 말할 수 있습니다.
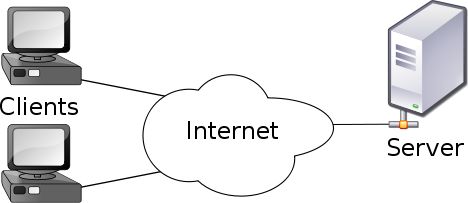
OrangeBoard WiFi는 업로드된 소스 코드에 따라 Web에 접속하는 Client가 될 수도 있고, 직접 Web에 데이터를 뿌려 Client들이 데이터에 접근할 수 있게 하는 Server도 될 수 있습니다.
저번 글에서는 OrangeBoard WiFi가 Client가 되어 웹서버로부터 데이터를 읽어왔다면, 이번글에서는 반대로 아두이노에서 아날로그 핀에 입력된 값을 Web에 뿌려주는 Server로 만들어 보도록 하겠습니다.
| No | 부품명 | 수량 | 상세 설명 |
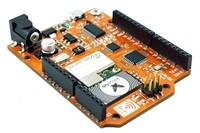
| 1 | OrangeBoard WiFi | 1 | WizFi250을 사용한 WiFi보드 |
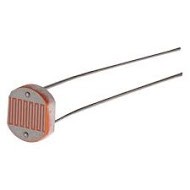
| 2 | 조도 센서 | 1 | CdS |
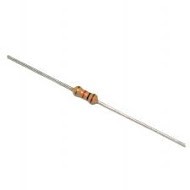
| 3 | 저항 | 5 | 10Kohm |
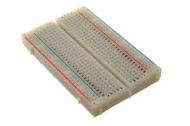
| 4 | 브레드 보드 | 1 | |
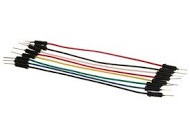
| 5 | 점퍼 케이블 | 5 |
| OrangeBoard WiFi | 조도 센서 | 저항 | 브레드 보드 | 점퍼 케이블 |
 |
 |
 |
 |
 |
※ 아래의 핀은 WiFi모듈과 오렌지 보드 간 통신(SPI통신)을 위해 사용되는 핀이니 사용이 불가한 점을 유의해야 합니다.
혹시 아래 핀에 연결된 선이 있다면 사용이 중복되기 때문에 다른 핀에 연결해야 합니다.
| Pin Number | WizFi250 |
| D4 | WIFI_SS |
| D2 | WIFI_RESET |
| D3 | WIFI_DATA_READY(GPIO14) |
| D11 | WIFI_MOSI |
| D13 | WIFI_SCK |
| D12 | WIFI_MISO |
아두이노 스케치를 실행한 다음 파일 - 예제 - WizFi250 - WebServer를 실행합니다.
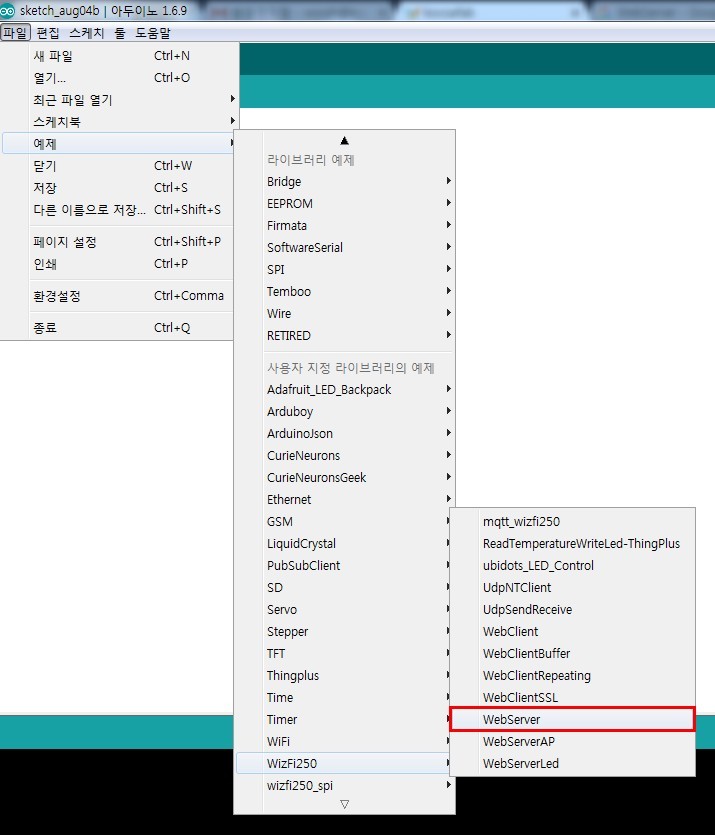
위 예제를 실행하면 아래 코드를 볼 수 있습니다.
#include <WizFi250.h>
#include <SPI.h>

char ssid[] = "SSID";            // your network SSID (name)
char pass[] = "PASS";        // your network password
int status = WL_IDLE_STATUS;     // the Wifi radio's status
int reqCount = 0;                // number of requests received

WiFiServer server(80);

void printWifiStatus();

void setup()
{
  // initialize serial for debugging
  Serial.begin(115200);
  // initialize serial for ESP module
  WiFi.init();

  // check for the presence of the shield
  if (WiFi.status() == WL_NO_SHIELD) {
    Serial.println("WiFi shield not present");
    // don't continue
    while (true);
  }

  // attempt to connect to WiFi network
  while ( status != WL_CONNECTED) {
    Serial.print("Attempting to connect to WPA SSID: ");
    Serial.println(ssid);
    // Connect to WPA/WPA2 network
    status = WiFi.begin(ssid, pass);
  }

  Serial.println("You're connected to the network");
  printWifiStatus();

  // start the web server on port 80
  server.begin();
}


void loop()
{
  // listen for incoming clients
  WiFiClient client = server.available();
  if (client) {
    Serial.println("New client");
    // an http request ends with a blank line
    boolean currentLineIsBlank = true;
    while (client.connected()) {
      if (client.available()) {
        char c = client.read();
        Serial.write(c);
        // if you've gotten to the end of the line (received a newline
        // character) and the line is blank, the http request has ended,
        // so you can send a reply
        if (c == '\n' && currentLineIsBlank) {
          Serial.println("Sending response");

          // send a standard http response header
          // use \r\n instead of many println statements to speedup data send
          client.print(
            "HTTP/1.1 200 OK\r\n"
            "Content-Type: text/html\r\n"
            "Connection: close\r\n"  // the connection will be closed after completion of the response
            "Refresh: 20\r\n"        // refresh the page automatically every 20 sec
            "\r\n");
          client.print("<!DOCTYPE HTML>\r\n");
          client.print("<html>\r\n");
          client.print("<h1>Hello World!</h1>\r\n");
          client.print("Requests received: ");
          client.print(++reqCount);
          client.print("<br>\r\n");
          client.print("Analog input A0: ");
          client.print(analogRead(0));
          client.print("<br>\r\n");
          client.print("</html>\r\n");
          break;
        }
        if (c == '\n') {
          // you're starting a new line
          currentLineIsBlank = true;
        }
        else if (c != '\r') {
          // you've gotten a character on the current line
          currentLineIsBlank = false;
        }
      }
    }
    // give the web browser time to receive the data
    delay(1000);

    // close the connection:
    client.stop();
    Serial.println("Client disconnected");
  }
}


void printWifiStatus()
{
  // print the SSID of the network you're attached to
  Serial.print("SSID: ");
  Serial.println(WiFi.SSID());

  // print your WiFi shield's IP address
  IPAddress ip = WiFi.localIP();
  Serial.print("IP Address: ");
  Serial.println(ip);

  // print where to go in the browser
  Serial.println();
  Serial.print("To see this page in action, open a browser to http://");
  Serial.println(ip);
  Serial.println();
}
char ssid[] = "SSID";      // your network SSID (name)
char pass[] = "PASS";      // your network password
위 코드에서 이 부분에 WiFi와 Password를 작성하고 업로드 시키면 시리얼 모니터에서 아래와 같은 화면을 볼 수 있습니다.
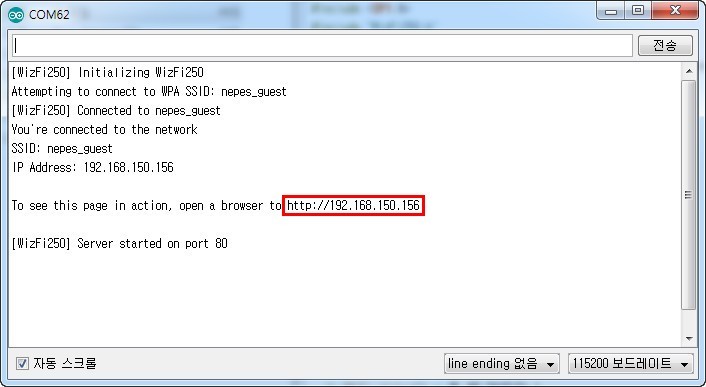
정상적으로 WiFi에 연결됐다면, 시리얼 모니터에서는 위 사진의 빨간박스처럼 또 다른 주소가 보이게 됩니다.
저 주소를 복사하여 웹브라우저에서 페이지에 접속하면 코드상에서 작성한 페이지가 뜨게 됩니다.
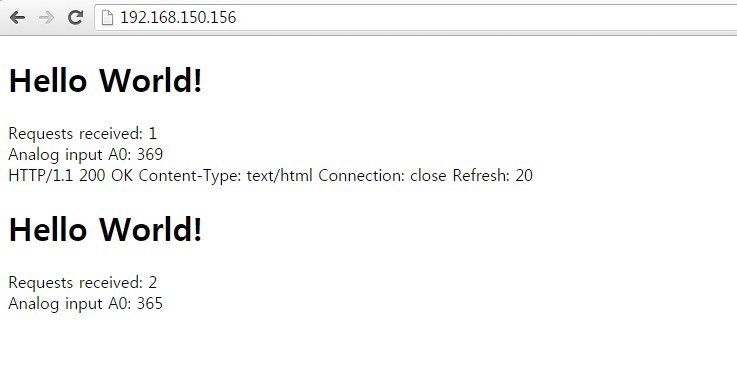
위 페이지는 코드에서 작성한 대로 20초마다 새로고침 되며, 그때마다 Analog input값이 바뀌게 됩니다.
만약 좀 더 빠르게 자동 새로고침을 하고 싶다면 아래 구문에서 Refresh : 20의 값을 낮은 단위의 숫자로 변경해 주시면 됩니다.
client.print(
"HTTP/1.1 200 OK\r\n"
"Content-Type: text/html\r\n"
"Connection: close\r\n"  // the connection will be closed after completion of the response
"Refresh: 20\r\n"        // refresh the page automatically every 20 sec
"\r\n");

kocoafabeditor 
항상 진취적이고, 새로운 것을 추구하는 코코아팹 에디터입니다!
 Arduino, OrangeBoard, WiFi, 와이파이, IoT, WebServer, Web


