2014-09-30 17:00:02
대형 RGB LED 줄줄이를 사용해 보자.
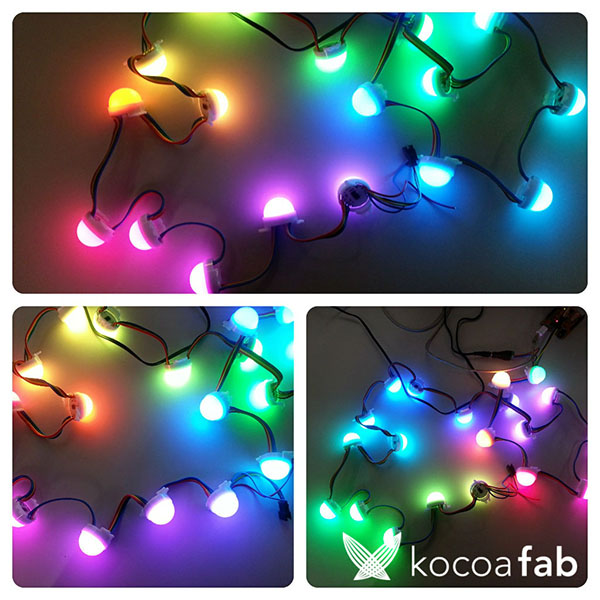
이번에 사용하는 대형 RGB LED 줄줄이는 LED의 알이 크기 때문에 색이 선명하며 파스텔톤의 색을 표현하기 때문에 이쁘다.
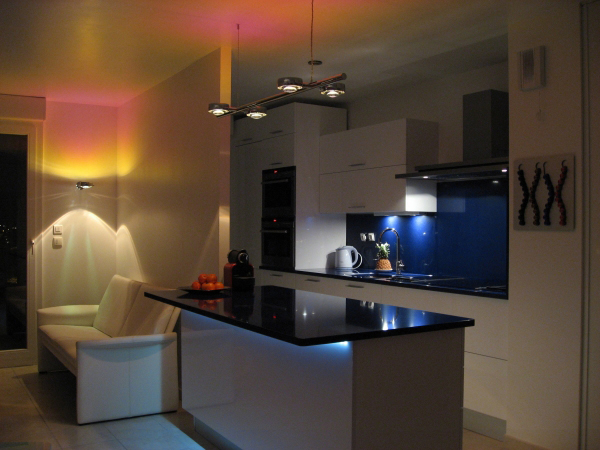
LED 줄줄이는 그 자체로도 조명기구나 다른 제품과 같이 사용하여 생활 장식품으로 활용이 가능하며, 센서와 같이 사용하여 특정 값에 반응하여 빛을 비추는 하나의 프로젝트 부품으로도 사용할 수 있다.
| NO | 부품명 | 수량 | 상세설명 |
| 1 | 아두이노 | 1 | 오렌지 보드 |
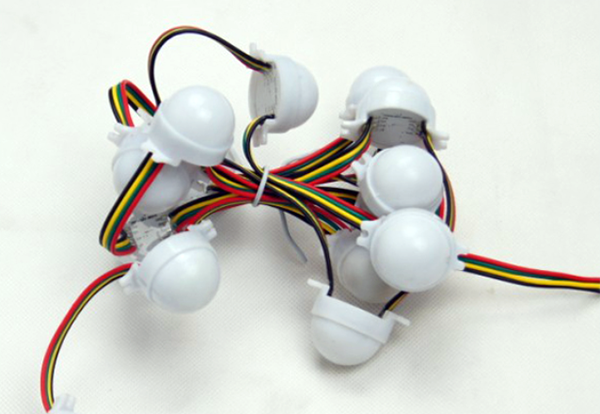
| 2 | 30mm 대형 RGB LED Strip | 1 | ws2801(adafruit) |
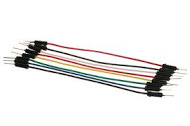
| 3 | 점퍼케이블 | 3 | 점퍼케이블 |
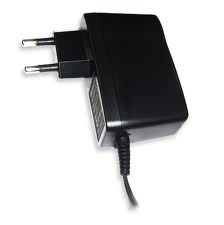
| 4 | 아답터 | 1 | DC 12v |
| 부품명 | 아두이노 | 30mm 대형 RGB LED Strip | 점퍼케이블 | 아답터 |
| 부품 사진 | 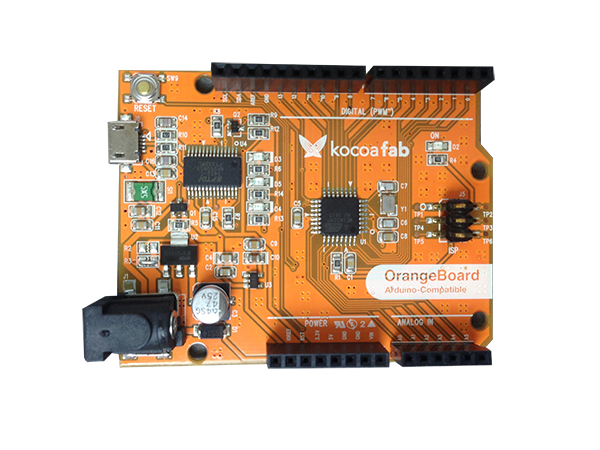 |
 |
 |
 |

출처 : https://learn.adafruit.com/20mm-led-pixels/wiring
#include "Adafruit_WS2801.h"
#include "SPI.h" // Comment out this line if using Trinket or Gemma
#ifdef __AVR_ATtiny85__
#include <avr/power.h>
#endif
/*****************************************************************************
Example sketch for driving Adafruit WS2801 pixels!
Designed specifically to work with the Adafruit RGB Pixels!
12mm Bullet shape ----> https://www.adafruit.com/products/322
12mm Flat shape ----> https://www.adafruit.com/products/738
36mm Square shape ----> https://www.adafruit.com/products/683
These pixels use SPI to transmit the color data, and have built in
high speed PWM drivers for 24 bit color per pixel
2 pins are required to interface
Adafruit invests time and resources providing this open source code,
please support Adafruit and open-source hardware by purchasing
products from Adafruit!
Written by Limor Fried/Ladyada for Adafruit Industries.
BSD license, all text above must be included in any redistribution
*****************************************************************************/
// Choose which 2 pins you will use for output.
// Can be any valid output pins.
// The colors of the wires may be totally different so
// BE SURE TO CHECK YOUR PIXELS TO SEE WHICH WIRES TO USE!
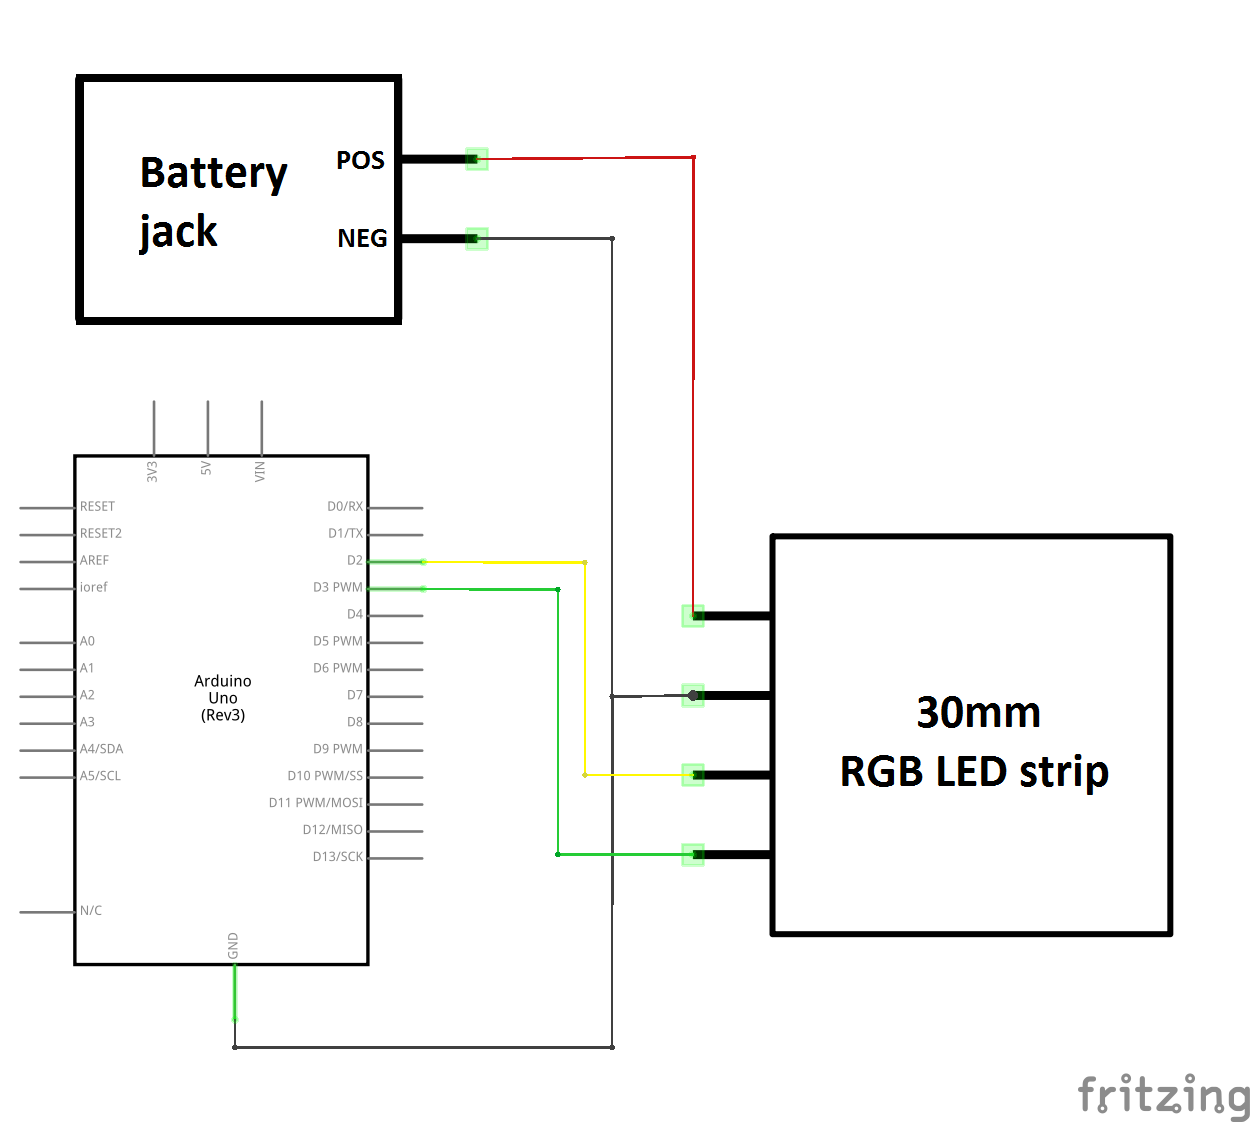
uint8_t dataPin = 2; // Yellow wire on Adafruit Pixels
uint8_t clockPin = 3; // Green wire on Adafruit Pixels
// Don't forget to connect the ground wire to Arduino ground,
// and the +5V wire to a +5V supply
//LED strip객체 생성. LED의 개수에 따라 앞 인자값을 변경한다
Adafruit_WS2801 strip = Adafruit_WS2801(25, dataPin, clockPin);
// Optional: leave off pin numbers to use hardware SPI
// (pinout is then specific to each board and can't be changed)
//Adafruit_WS2801 strip = Adafruit_WS2801(25);
// For 36mm LED pixels: these pixels internally represent color in a
// different format. Either of the above constructors can accept an
// optional extra parameter: WS2801_RGB is 'conventional' RGB order
// WS2801_GRB is the GRB order required by the 36mm pixels. Other
// than this parameter, your code does not need to do anything different;
// the library will handle the format change. Examples:
//Adafruit_WS2801 strip = Adafruit_WS2801(25, dataPin, clockPin, WS2801_GRB);
//Adafruit_WS2801 strip = Adafruit_WS2801(25, WS2801_GRB);
void setup() {
#if defined(__AVR_ATtiny85__) && (F_CPU == 16000000L)
clock_prescale_set(clock_div_1); //clock을 16Mhz로 사용
#endif
strip.begin();
//LEDstrip loop를 실행시키기 위해 모든 LED를 off시키며 초기화
strip.show();
}
void loop() {
//입력한 패턴대로 LEDstrip을 반복 실행시킨다
colorWipe(Color(255, 0, 0), 50);
colorWipe(Color(0, 255, 0), 50);
colorWipe(Color(0, 0, 255), 50);
rainbow(20);
rainbowCycle(20);
}
void rainbow(uint8_t wait) {
int i, j;
for (j=0; j < 256; j++) { //LEDstrip의 모든 LED pixel을 256가지의 색으로 한번 반복한다
for (i=0; i < strip.numPixels(); i++) {
strip.setPixelColor(i, Wheel( (i + j) % 255));
}
strip.show();
delay(wait);
}
}
void rainbowCycle(uint8_t wait) {
int i, j;
for (j=0; j < 256 * 5; j++) { // LED각각을 각기 다른색으로 시작해서 256가지의 색으로 5번 반복한다
for (i=0; i < strip.numPixels(); i++) {
strip.setPixelColor(i, Wheel( ((i * 256 / strip.numPixels()) + j) % 256) );
}
strip.show();
delay(wait);
}
}
//LED pixel을 입력한 색으로 차례대로 나타낸다
void colorWipe(uint32_t c, uint8_t wait) {
int i;
for (i=0; i < strip.numPixels(); i++) {
strip.setPixelColor(i, c);
strip.show();
delay(wait);
}
}
//8비트의 r값 g값 b값을 받아서 여러가지의 색을 만드는 함수
uint32_t Color(byte r, byte g, byte b)
{
uint32_t c;
c = r;
c <<= 8;
c |= g;
c <<= 8;
c |= b;
return c;
}
//256이하의 숫자를 받았을 때 정해진 조건에 따라 특정색깔로 분리하여 나타내는 함수
uint32_t Wheel(byte WheelPos)
{
if (WheelPos < 85) {
return Color(WheelPos * 3, 255 - WheelPos * 3, 0);
} else if (WheelPos < 170) {
WheelPos -= 85;
return Color(255 - WheelPos * 3, 0, WheelPos * 3);
} else {
WheelPos -= 170;
return Color(0, WheelPos * 3, 255 - WheelPos * 3);
}
}
위 예제를 사용하기 위해서는 외부 라이브러리가 필요하다. 라이브러리는 아래링크를 통해서 받을 수 있다.
라이브러리 내려받기
외부 라이브러리 사용하는 방법
라이브러리의 설치가 끝나게 되면 예제소스 strandtest를 실행시키면 위와 같은 소스가 나타난다.
adafruit의 제품이기 때문에 다른 adafruit의 LEDstrip(Neopixel류의 제품)과 소스 형식이 비슷하며 출력되는 LED 패턴도 똑같다.
//LED strip객체 생성. LED의 개수에 따라 앞 인자값을 변경한다
Adafruit_WS2801 strip = Adafruit_WS2801(25, dataPin, clockPin);
LED strip의 LED의 개수에 따라 위 부분에서 첫번째 인자값을 변환시켜 주면 된다. 기본 예제에서는 25가 기본값이지만 20개일 경우 20으로 바꿔주고 30일 경우 30으로 바꿔 주면 된다.
void loop() {
  //입력한 패턴대로 LEDstrip을 반복 실행시킨다
  colorWipe(Color(255, 0, 0), 50);
  colorWipe(Color(0, 255, 0), 50);
  colorWipe(Color(0, 0, 255), 50);
  rainbow(20);
  rainbowCycle(20);
}
colorWipe함수는 인자값으로 넣은 색을 순차적으로 나타내는 함수이고, rainbow는 LED전부를 무지개색으로 나타내는 함수이고 rainbowCycle은 LED각각을 무지개색으로 돌리는 함수이다.
빠른 싸이클로 돌리고 싶으면 colorWipe의 인자값 50을 줄이면 되고 rainbow에서는 20의 인자값을 더 낮은값으로 바꾸면 더 빠른 싸이클로 반복하여 빛을 내게 된다.

kocoafabeditor 
항상 진취적이고, 새로운 것을 추구하는 코코아팹 에디터입니다!
 LEDstrip, 아두이노, 오렌지보드


