2015-03-13 14:13:26
출처 : 위키피디아
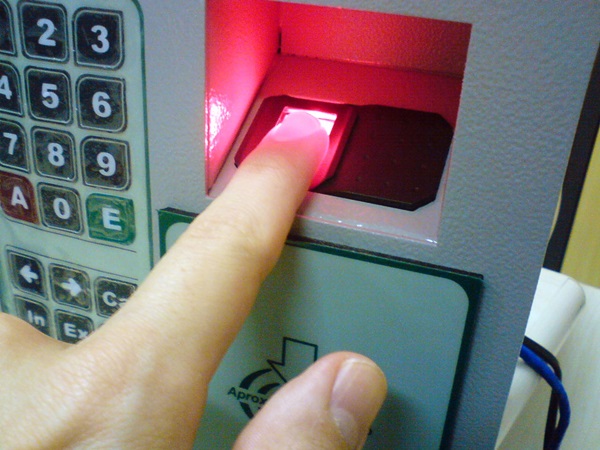
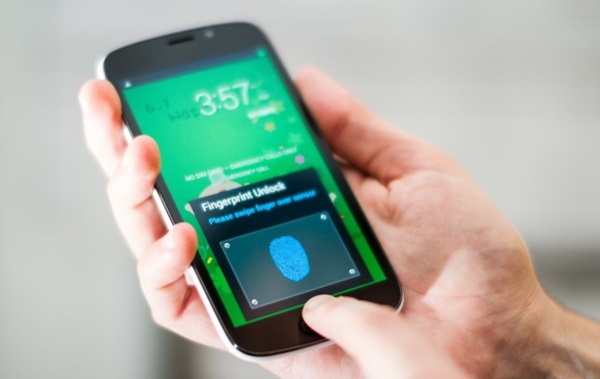
최근 다수의 연구 결과에 따르면 생체인식 보안이 빠르게 성장하고 있다고 합니다. 특히 스마트폰 보급이 늘면서 사용자들이 지문인식 도구의 사용이 익숙해 지면서 가파른 상승세를 타고 있다고 하는데요.,
이러한 지문 인식은 열쇠나 카드 처럼 잊어버리거나 놓고 오거나 도난당할 일이 없다는 점에서 엄청난 편의성을 제공합니다.
지문 인식은 개인마다 각각 다른 모양을 가지고 있는 지문을 이용하여 개개인을 구별을 하는데 자주 사용되고 있습니다. 최근에는 고유 인식 기능을 넣은 스마트폰과 같이 다양한 곳에서 이용되고 있습니다.
출처 : Summit 2010
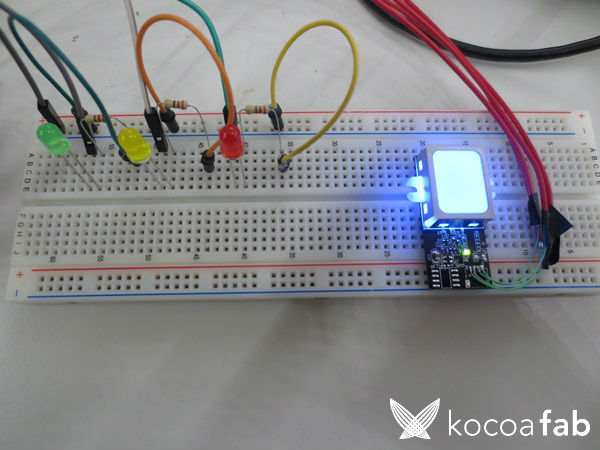
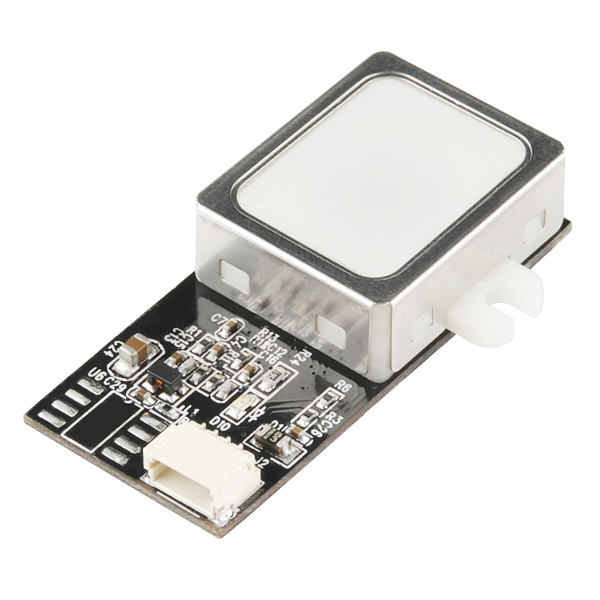
이번 컨텐츠에서는 GT-511C3 지문 스캐너를 사용하여 아두이노를 통해 지문을 등록 / 인식을 해보도록 하겠습니다.
우선 지문 스캐너를 이용하여 지문을 등록하고 이 등록한 지문을 이용하여 스캐너에 지문을 인식시켰을 때 맞는 LED의 불을 켜도록 하겠습니다.
| NO | 부품명 | 수량 | 상세설명 |
| 1 | 오렌지 보드 | 1 | |
| 2 | Fingerprint Scanner | 1 | GT-511C3 |
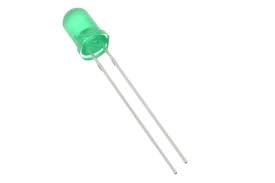
| 3 | LED | 3 | 적색, 노란색, 녹색 각 1개씩 |
| 4 | 저항 | 3 | 220Ω |
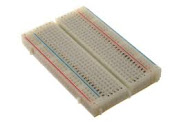
| 5 | 브레드보드 | 1 | |
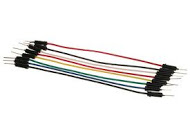
| 6 | 점퍼케이블 | 11 |
| 부품명 | 오렌지 보드 | Finger Scanner | LED |
| 파트 | 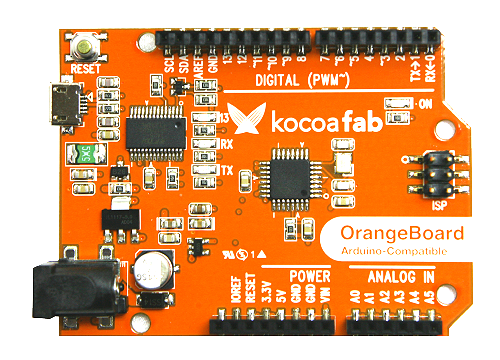 |
 |
 |
| 부품명 | 220Ω 저항 | 브레드보드 | 점퍼케이블 |
| 파트 | 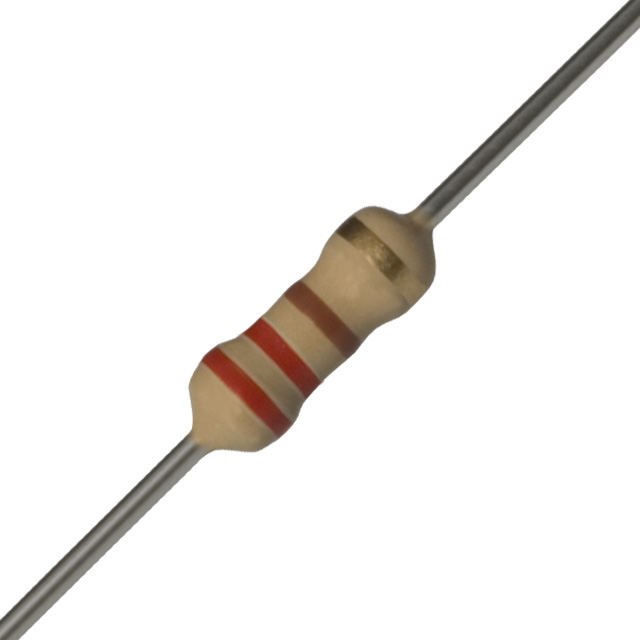 |
 |
 |


출처 : startingelectronics
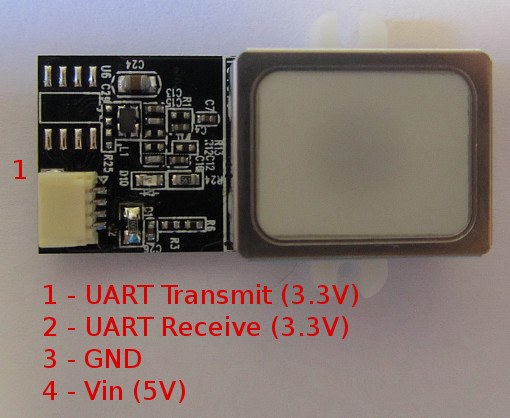
| NO | 지문스캐너 | 오렌지 보드 |
| 1 | TX | Digital 2번 핀 |
| 2 | RX | Digital 3번 핀 |
| 3 | GND | GND |
| 4 | VIN | 5V |
지문스캔 하는 쪽을 위로 두고 왼쪽부터 1번입니다.(위 사진 참고) TX, RX 교차 연결하시고 GND와 5V를 연결하시면 됩니다.
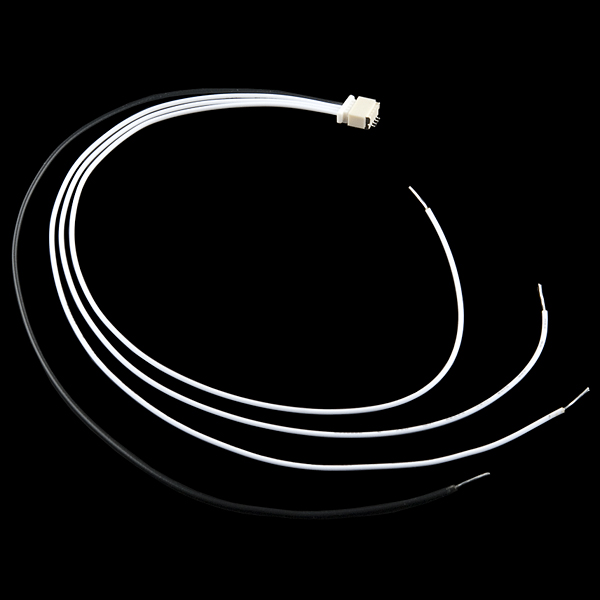
* 저는 밑의 4 wire가 없어서 커넥터 부분을 빼고 직접 납땜해서 사용했습니다. 원래는 위에 연결 사진과 같이 커넥터 부분이 있으니 4 Wire를 연결하셔서 연결하시면 됩니다.
/*
	FPS_Enroll.ino - Library example for controlling the GT-511C3 Finger Print Scanner (FPS)
	Created by Josh Hawley, July 23rd 2013
	Licensed for non-commercial use, must include this license message
	basically, Feel free to hack away at it, but just give me credit for my work =)
	TLDR; Wil Wheaton's Law
*/

#include "FPS_GT511C3.h"
#include "SoftwareSerial.h"

// Hardware setup - FPS connected to:
// digital pin 2(arduino rx, fps tx)
// digital pin 3(arduino tx - 560ohm resistor fps tx - 1000ohm resistor - ground)
// this brings the 5v tx line down to about 3.2v so we dont fry our fps
FPS_GT511C3 fps(2, 3);

void setup() {
	Serial.begin(9600);
	delay(100);
	fps.Open();
	fps.SetLED(true);

	Enroll();
}

void Enroll() {

	// find open enroll id
	int enrollid = 0;
	bool usedid = true;
	while (usedid == true) {
		usedid = fps.CheckEnrolled(enrollid);
		if (usedid==true) enrollid++;
	}
	fps.EnrollStart(enrollid);

	// enroll
	Serial.print("Press finger to Enroll #");
	Serial.println(enrollid);
	while (fps.IsPressFinger() == false) {
		delay(100);
	}
	bool bret = fps.CaptureFinger(true);
	int iret = 0;

	if (bret != false) {
		Serial.println("Remove finger");
		fps.Enroll1();
		while (fps.IsPressFinger() == true) {
			delay(100);
		}
		Serial.println("Press same finger again");
		while (fps.IsPressFinger() == false) {
			delay(100);
		}

		bret = fps.CaptureFinger(true);

		if (bret != false) {
			Serial.println("Remove finger");
			fps.Enroll2();
			while (fps.IsPressFinger() == true) {
				delay(100);
			}
			Serial.println("Press same finger yet again");
			while (fps.IsPressFinger() == false) {
				delay(100);
			}

			bret = fps.CaptureFinger(true);

			if (bret != false) {
				Serial.println("Remove finger");
				iret = fps.Enroll3();
				if (iret == 0) {
					Serial.println("Enrolling Successfull");
				} else {
					Serial.print("Enrolling Failed with error code:");
					Serial.println(iret);
				}
			} else {
				Serial.println("Failed to capture third finger");
			}
		} else {
			Serial.println("Failed to capture second finger");
		}
	} else {
		Serial.println("Failed to capture first finger");
	}
}

void loop() {
	delay(100000);
}
/*
	FPS_Enroll.ino - Library example for controlling the GT-511C3 Finger Print Scanner (FPS)
	Created by Josh Hawley, July 23rd 2013
	Licensed for non-commercial use, must include this license message
	basically, Feel free to hack away at it, but just give me credit for my work =)
	TLDR; Wil Wheaton's Law

	This sketch will attempt to identify a previously enrolled fingerprint.
*/

#include "FPS_GT511C3.h"
#include "SoftwareSerial.h"

// Hardware setup - FPS connected to:
// digital pin 2(arduino rx, fps tx)
// digital pin 3(arduino tx - 560ohm resistor fps tx - 1000ohm resistor - ground)
// this brings the 5v tx line down to about 3.2v so we dont fry our fps

FPS_GT511C3 fps(2, 3);

void setup() {
	Serial.begin(9600);
	delay(100);
	pinMode(9, OUTPUT);
	pinMode(10, OUTPUT);
	pinMode(11, OUTPUT);
	fps.Open();
	fps.SetLED(true);
}

void loop() {

	// Identify fingerprint test
	if (fps.IsPressFinger()) {
		fps.CaptureFinger(false);
		int id = fps.Identify1_N();
		if (id <200) {
			Serial.print("Verified ID:");
			Serial.println(id);
			if (id == 0) {
				digitalWrite(9 , HIGH);
				digitalWrite(10, LOW);
				digitalWrite(11, LOW);
			} else if (id == 1) {
				digitalWrite(9, LOW);
				digitalWrite(10, HIGH);
				digitalWrite(11, LOW);
			}
		} else {
			Serial.println("Finger not found");
			digitalWrite(9, LOW);
			digitalWrite(10, LOW);
			digitalWrite(11, HIGH);
		}
	} else {
		Serial.println("Please press finger");
		digitalWrite(9, LOW);
		digitalWrite(10, LOW);
		digitalWrite(11, LOW);
	}
	delay(100);
}
위의 코드를 사용하기 위해서는 FPS-GT511C3 라이브러리가 필요합니다.
(라이브러리 사용법은 링크를 참고하시기 바랍니다.)
지문 등록 코드는 자신의 지문을 등록하여 센서에 저장을 하는 코ㅈ드이고, 지문 인식 코드는 저장된 지문을 가지고 현재 스캔한 지문과 비교하는 코드입니다.
	// Identify fingerprint test
	if (fps.IsPressFinger()) {
		fps.CaptureFinger(false);
		int id = fps.Identify1_N();
		if (id <200) {
			Serial.print("Verified ID:");
			Serial.println(id);
			if (id == 0) {
				digitalWrite(9 , HIGH);
				digitalWrite(10, LOW);
				digitalWrite(11, LOW);
			} else if (id == 1) {
				digitalWrite(9, LOW);
				digitalWrite(10, HIGH);
				digitalWrite(11, LOW);
			}
		} else {
			Serial.println("Finger not found");
			digitalWrite(9, LOW);
			digitalWrite(10, LOW);
			digitalWrite(11, HIGH);
		}
	} else {
		Serial.println("Please press finger");
		digitalWrite(9, LOW);
		digitalWrite(10, LOW);
		digitalWrite(11, LOW);
	}
	delay(100);
fps.IsPressFinger 함수를 통해 지문 스캐너에 지문이 측정되는지 확인하고, 지문이 측정되면 측정된 지문이 저장되어있는 정보와 일치하는지 확인하고, 측정되지 않으면 "Please press finger" 메세지를 계속 출력합니다.
인식된 지문이 저장되어있는 지문일 경우 저장되어있는 지문의 ID번호를 불러 옵니다. 이 아이디를 가지고 어떤 사람의 지문인지 구별하면 됩니다.
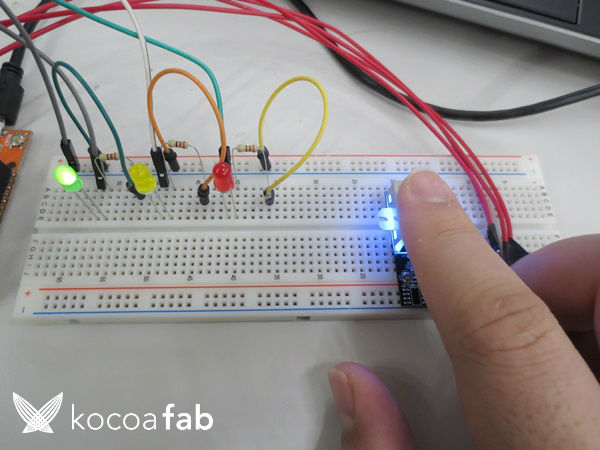
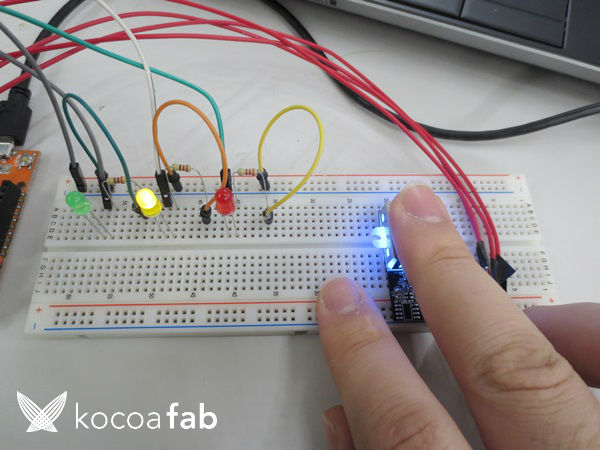
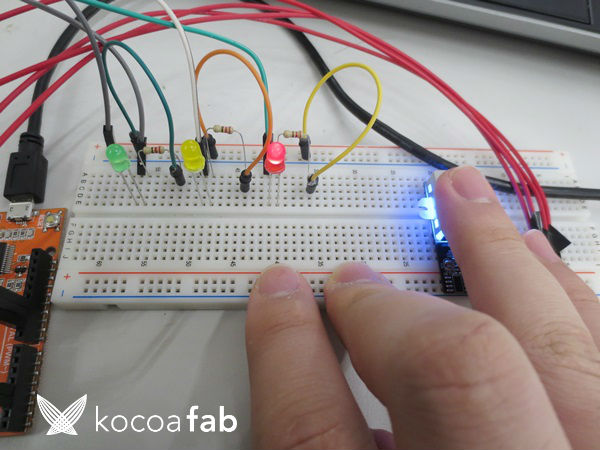
이번 컨텐츠에서 테스트는 오른손 둘째 손가락을 ID 0번에 오른손 셋째 손가락을 ID 1번에 저장하고 해보았습니다.
둘째 손가락이 스캔되면 녹색 불을, 셋째 손가락이 스캔되면 노란색 불을 저장되지 않은 손가락이 스캔이 되면 빨간색 불을 켜도록 하였습니다.
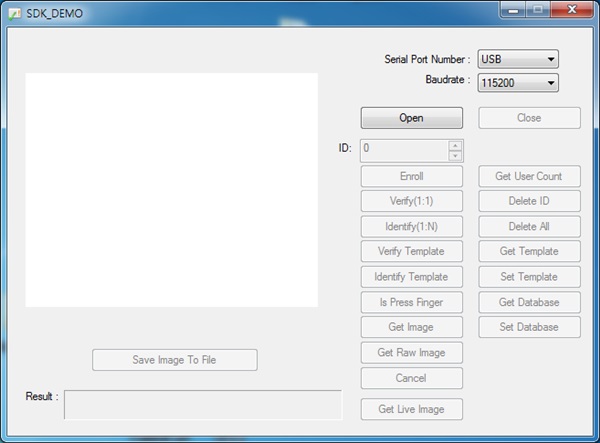
* 참고
아두이노를 이용하지 않고 FTDI를 이용하여 Sparkfun에서 제공하는 테스트 프로그램을 이용하셔서 지문 확인 + 등록을 하셔도 됩니다. 이 컨텐츠에서는 따로 다루지 않습니다.
테스트 프로그램은 링크에서 다운받으시면 됩니다.

kocoafabeditor 
항상 진취적이고, 새로운 것을 추구하는 코코아팹 에디터입니다!
 지문 스캐너, 아두이노, 오렌지보드


