2015-07-02 18:02:21
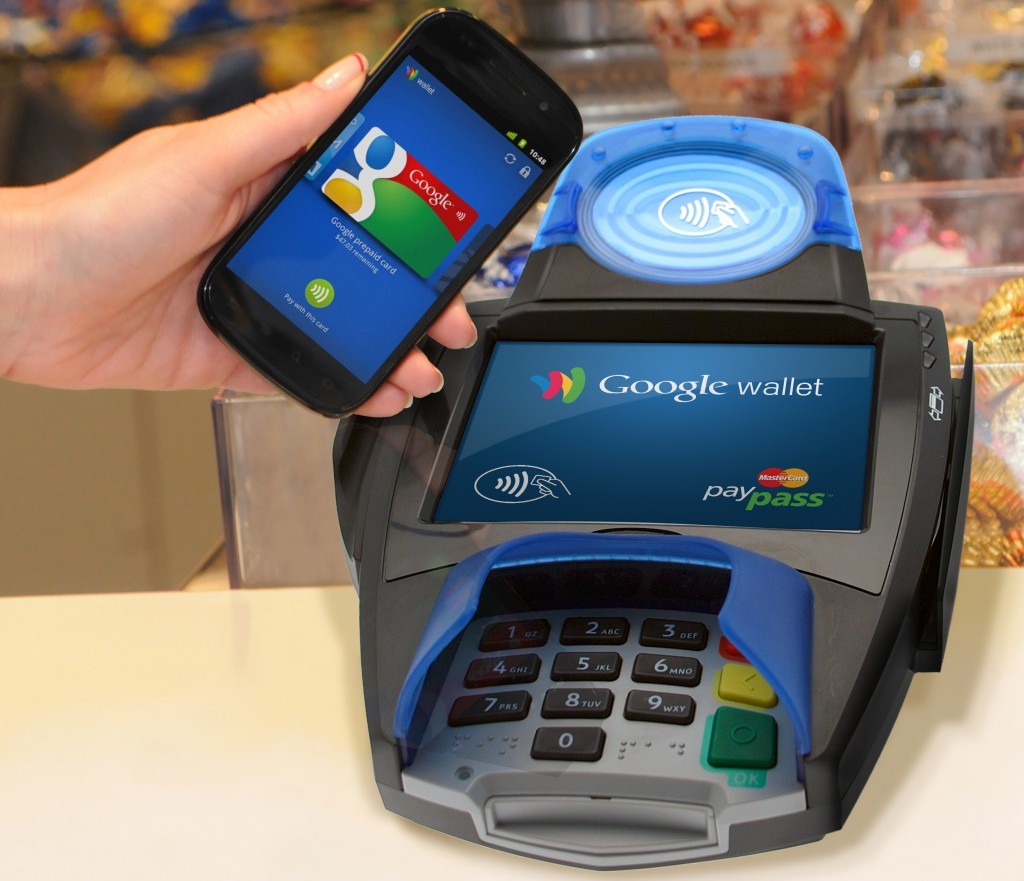
NFC(Near Field Communication)는 RFID의 하나로 13.56MHz 주파수 대역을 사용하는 비접촉식 근거리 무선 통신 입니다. 통신거리가 짧기 때문에 상대적으로 보안이 우수하고 가격이 저렴해 주목받는 근거리 통신 기술입니다.
스마트폰에 내장되어있어 많은 사람들이 쉽게 접할 수 있고, 보안성이 뛰어나서 모바일 결제나 교통카드 등 다양한 분야에서 사용되고 있습니다.
다양한 분야에서 많이 사용되는 기술이니 이번 컨텐츠를 보시고 응용하여 간단한 정보 확인 기능 부터 결제 기능 까지 다양한 프로젝트를 만들어 보시면 좋을 것 같습니다.
이번 컨텐츠에서는 Adafruit에서 나온 RFID/NFC 쉴드를 이용하여 NFC 카드 정보를 읽어보도록 하겠습니다.
| NO | 부품명 | 수량 | 상세설명 |
| 1 | 오렌지보드 | 1 | |
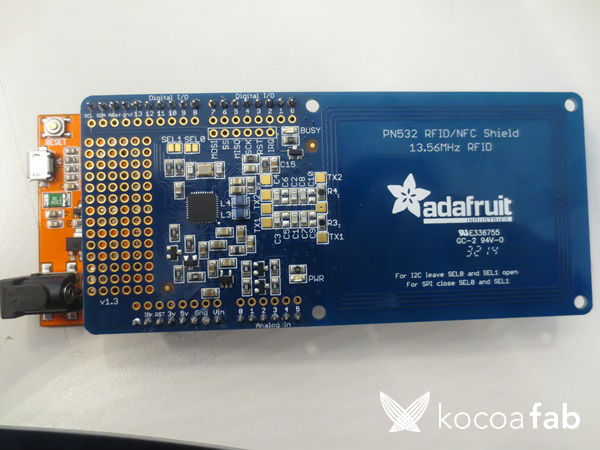
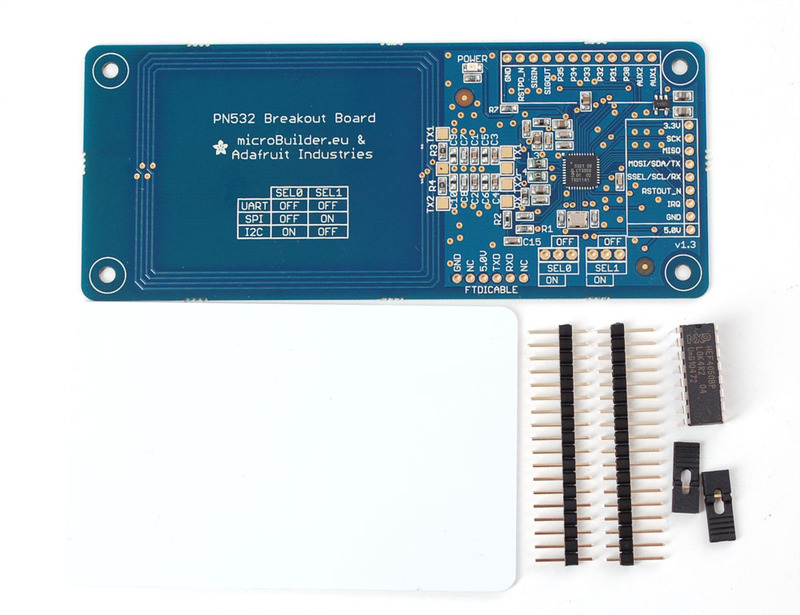
| 2 | RFID/NFC Shield | 1 | Adafruit |
| 3 | NFC Card | 1 | MiFare 1K Card |
| 부품명 | 오렌지 보드 | NFC Shiled / Card |
| 파트 | 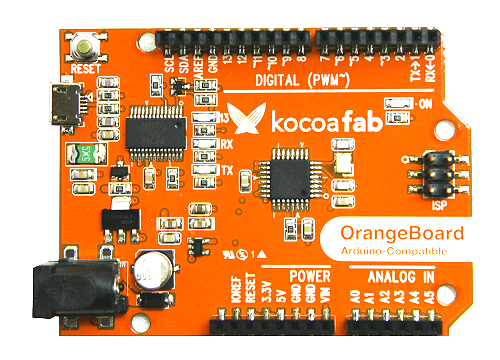 |
 |
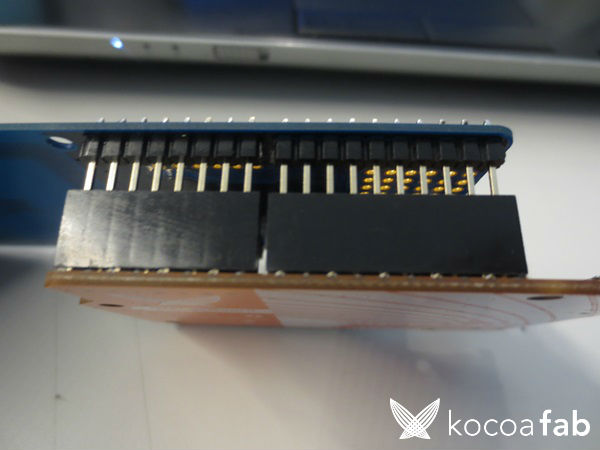
Adafruit RFID/NFC쉴드는 아두이노 호환 쉴드 형태로 되어있어서 오렌지 보드 핀에 맞게 연결만 해주시면 됩니다.
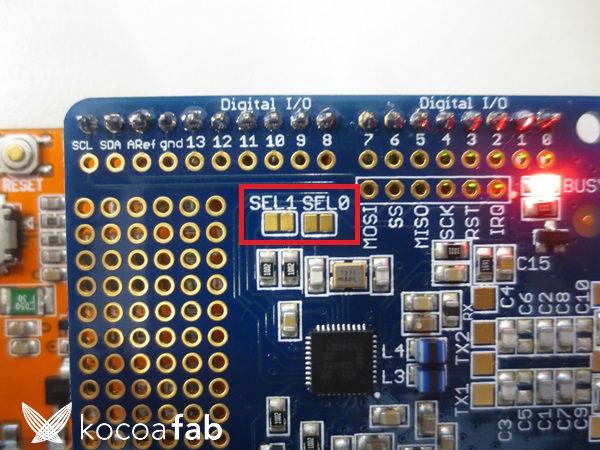
추가로 쉴드 기본 설정은 I2C로 되어있지만 SPI방식을 이용하고 싶으시면 밑의 사진에서 SEL1과 SEL0을 각각 납땜을 이용하여 닫아주시면 됩니다.
/**************************************************************************/
/*!
	@file     readMifareClassic.pde
	@author   Adafruit Industries
	@license  BSD (see license.txt)

	This example will wait for any ISO14443A card or tag, and
	depending on the size of the UID will attempt to read from it.

	If the card has a 4-byte UID it is probably a Mifare
	Classic card, and the following steps are taken:

	Reads the 4 byte (32 bit) ID of a MiFare Classic card.
	Since the classic cards have only 32 bit identifiers you can stick
	them in a single variable and use that to compare card ID's as a
	number. This doesn't work for ultralight cards that have longer 7
	byte IDs!

	Note that you need the baud rate to be 115200 because we need to
	print out the data and read from the card at the same time!

	This is an example sketch for the Adafruit PN532 NFC/RFID breakout boards
	This library works with the Adafruit NFC breakout
	----> https://www.adafruit.com/products/364

	Check out the links above for our tutorials and wiring diagrams
	These chips use SPI to communicate, 4 required to interface

	Adafruit invests time and resources providing this open source code,
	please support Adafruit and open-source hardware by purchasing
	products from Adafruit!
*/
/**************************************************************************/
#include <Wire.h>
#include <SPI.h>
#include <Adafruit_PN532.h>

// If using the breakout with SPI, define the pins for SPI communication.
#define PN532_SCK  (2)
#define PN532_MOSI (3)
#define PN532_SS   (4)
#define PN532_MISO (5)

// If using the breakout or shield with I2C, define just the pins connected
// to the IRQ and reset lines.  Use the values below (2, 3) for the shield!
#define PN532_IRQ   (2)
#define PN532_RESET (3)  // Not connected by default on the NFC Shield

// Uncomment just _one_ line below depending on how your breakout or shield
// is connected to the Arduino:

// Use this line for a breakout with a SPI connection:
//Adafruit_PN532 nfc(PN532_SCK, PN532_MISO, PN532_MOSI, PN532_SS);

// Use this line for a breakout with a hardware SPI connection.  Note that
// the PN532 SCK, MOSI, and MISO pins need to be connected to the Arduino's
// hardware SPI SCK, MOSI, and MISO pins.  On an Arduino Uno these are
// SCK = 13, MOSI = 11, MISO = 12.  The SS line can be any digital IO pin.
//Adafruit_PN532 nfc(PN532_SS);

// Or use this line for a breakout or shield with an I2C connection:
Adafruit_PN532 nfc(PN532_IRQ, PN532_RESET);

void setup(void) {
	Serial.begin(115200);
	Serial.println("Hello!");

	nfc.begin();

	uint32_t versiondata = nfc.getFirmwareVersion();
	if (! versiondata) {
		Serial.print("Didn't find PN53x board");
		while (1); // halt
	}
	// Got ok data, print it out!
	Serial.print("Found chip PN5"); Serial.println((versiondata>>24) & 0xFF, HEX);
	Serial.print("Firmware ver. "); Serial.print((versiondata>>16) & 0xFF, DEC);
	Serial.print('.'); Serial.println((versiondata>>8) & 0xFF, DEC);

	// configure board to read RFID tags
	nfc.SAMConfig();

	Serial.println("Waiting for an ISO14443A Card ...");
}


void loop(void) {
	uint8_t success;
	uint8_t uid[] = { 0, 0, 0, 0, 0, 0, 0 };  // Buffer to store the returned UID
	uint8_t uidLength;                        // Length of the UID (4 or 7 bytes depending on ISO14443A card type)

	// Wait for an ISO14443A type cards (Mifare, etc.).  When one is found
	// 'uid' will be populated with the UID, and uidLength will indicate
	// if the uid is 4 bytes (Mifare Classic) or 7 bytes (Mifare Ultralight)
	success = nfc.readPassiveTargetID(PN532_MIFARE_ISO14443A, uid, &uidLength);

	if (success) {
		// Display some basic information about the card
		Serial.println("Found an ISO14443A card");
		Serial.print("  UID Length: ");Serial.print(uidLength, DEC);Serial.println(" bytes");
		Serial.print("  UID Value: ");
		nfc.PrintHex(uid, uidLength);

		if (uidLength == 4) {
			// We probably have a Mifare Classic card ...
			uint32_t cardid = uid[0];
			cardid <<= 8;
			cardid |= uid[1];
			cardid <<= 8;
			cardid |= uid[2];
			cardid <<= 8;
			cardid |= uid[3];
			Serial.print("Seems to be a Mifare Classic card #");
			Serial.println(cardid);
		}
		Serial.println("");
	}
}
NFC Shield를 사용하실려면 Adafruit_PN532라이브러리를 받으셔야 합니다. 라이브러리는 링크에서 받으시면 됩니다.
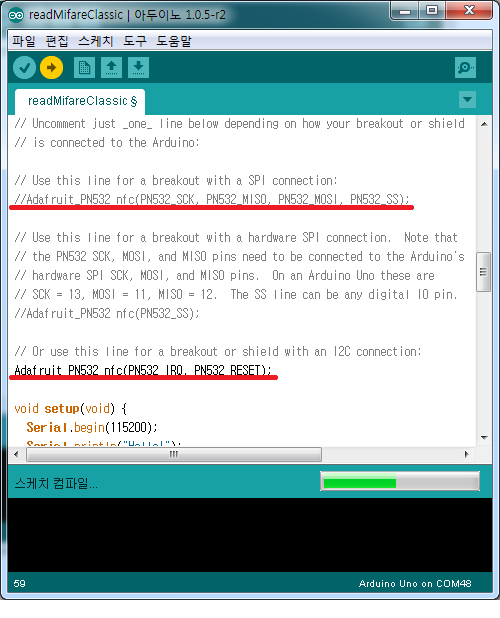
위의 소스코드는 Adafruit_PN532라이브러리에 readMifareClassic 예제에서 SPI방식을 I2C방식으로 바꿔준 코드입니다.
I2C를 이용하시면 위의 코드를 그대로 사용하시면 되고, SPI를 이용하시면 라이브러리 폴더 안에 있는 예제를 사용하시면 됩니다.
추가로 I2C와 SPI사용을 바꿀려면 밑의 사진중에 밑줄이 그려진 부분을 주석을 이용하여 분류하시면 됩니다.(위에 선이 SPI이용, 밑에 선이 I2C이용입니다.)
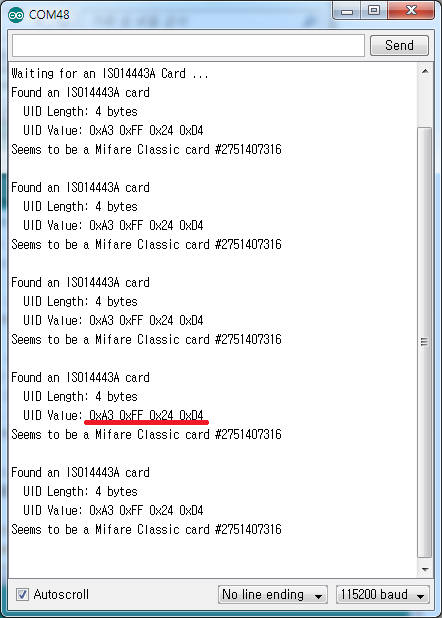
예제 코드를 업로드 하시고 NFC 카드를 쉴드에 가져가면 밑의 화면과 같이 UUID 길이와 해당 카드의 UUID를 출력해 줍니다.(NFC 카드 대신 NFC가 지원되는 핸드폰을 이용하셔도 됩니다.)

kocoafabeditor 
항상 진취적이고, 새로운 것을 추구하는 코코아팹 에디터입니다!
 NFC 쉴드, 아두이노, 오렌지보드