
WebServer예제 실행해보기
2021-11-19 11:49:50
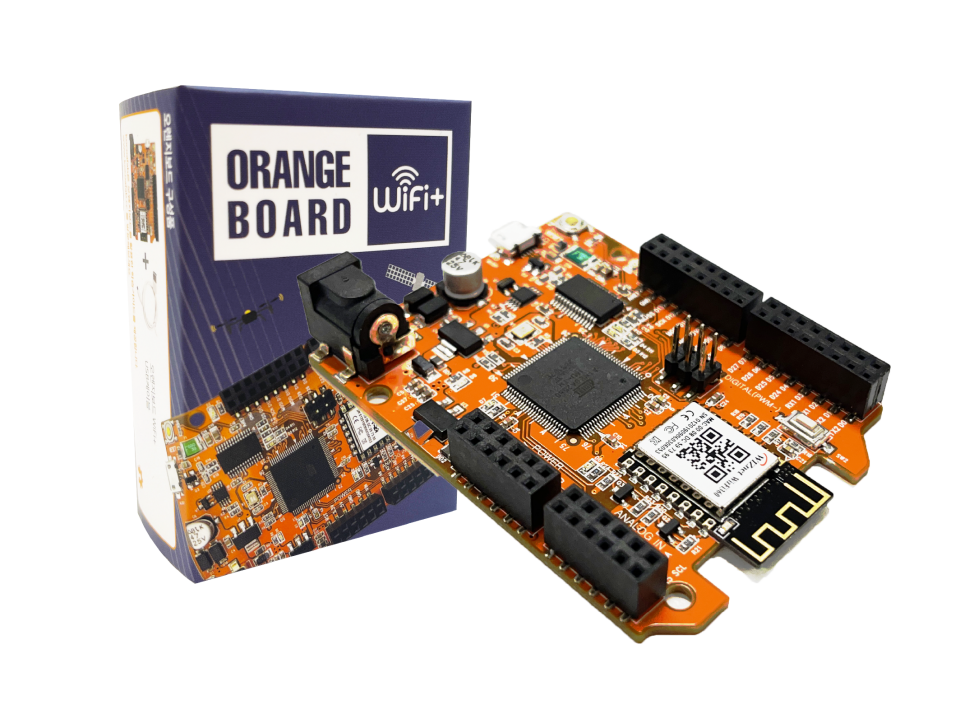
OrangeBoard WiFi+는 기존 OrangeBoard WiFi의 성능을 보완하여 유저들이 더 쉽게 사용하고 다양한 프로젝트로 확장할 수 있도록 개선한 보드입니다.
WiFi모듈은 WizFi250대신 WizFi360으로 변경되었고 MCU또한 Uno에서 쓰이던 ATmega328p대신 Mega에서 쓰이는 ATmega2560을 사용합니다.
이번 가이드에서는 WebServer예제를 사용해 조도센서값을 웹브라우저에 띄워보고 버튼을 LED를 제어하는 예제를 실습해보도록 하겠습니다!
개요
인터넷은 클라이언트 서버 모델(Client-Server model)을 사용하여 서비스 요청자인 클라이언트(Client)와 서비스 제공자인 서버(Server)를 분리한 구조를 가지고 있습니다.
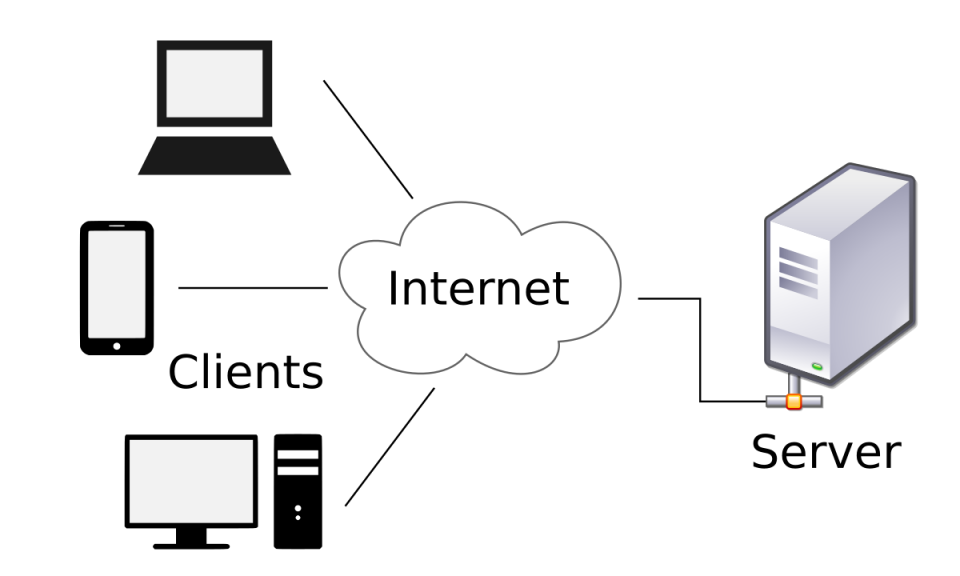
클라이언트는 보통 인터넷을 사용하는 유저, 또는 그 유저들이 사용하는 단말기(스마트폰, 태블릿, pc등)을 말하며
서버는 다수의 클라이언트가 요청한 데이터를 제공하는 주체로 매우 큰 용량과 성능을 지니고 있습니다.
OrangeBoard WiFi는 어떤 코드를 업로드하느냐에 따라 인터넷에서 서비스를 요청하는 Client역할을 수행할 수 있고
또는 Web에 데이터를 제공함으로써 접속하는 Client에게 데이터를 제공하는 Server의 역할도 수행할 수 있습니다.
이전에는 arduino.cc에 연결하여 아두이노 로고를 받아오는 WebClient예제를 사용해봤다면, 이번에는 WebServer예제를 통해 OrangeBoard에 연결된 조도센서의 값을 웹브라우저에 출력하는 Server의 역할을 만들어보도록 하겠습니다.
필요한 부품 목록
| No | 부품명 | 수량 | 상세 설명 |
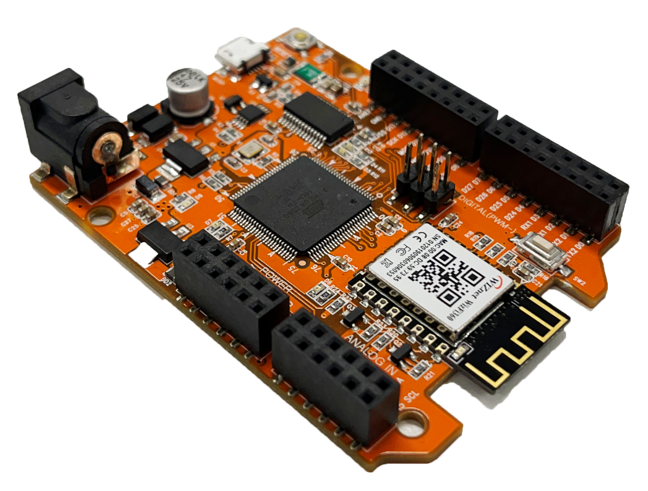
| 1 | OrangeBoard WiFi | 1 | WizFi250을 사용한 WiFi보드 |
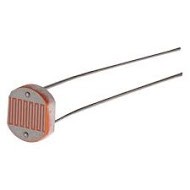
| 2 | 조도 센서 | 1 | CdS |
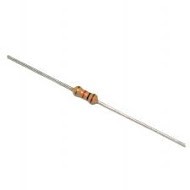
| 3 | 저항 | 5 | 10Kohm |
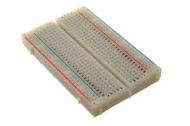
| 4 | 브레드 보드 | 1 | |
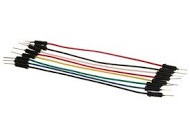
| 5 | 점퍼 케이블 | 5 |
| OrangeBoard WiFi | 조도 센서 | 저항 | 브레드 보드 | 점퍼 케이블 |
 |
 |
 |
 |
 |
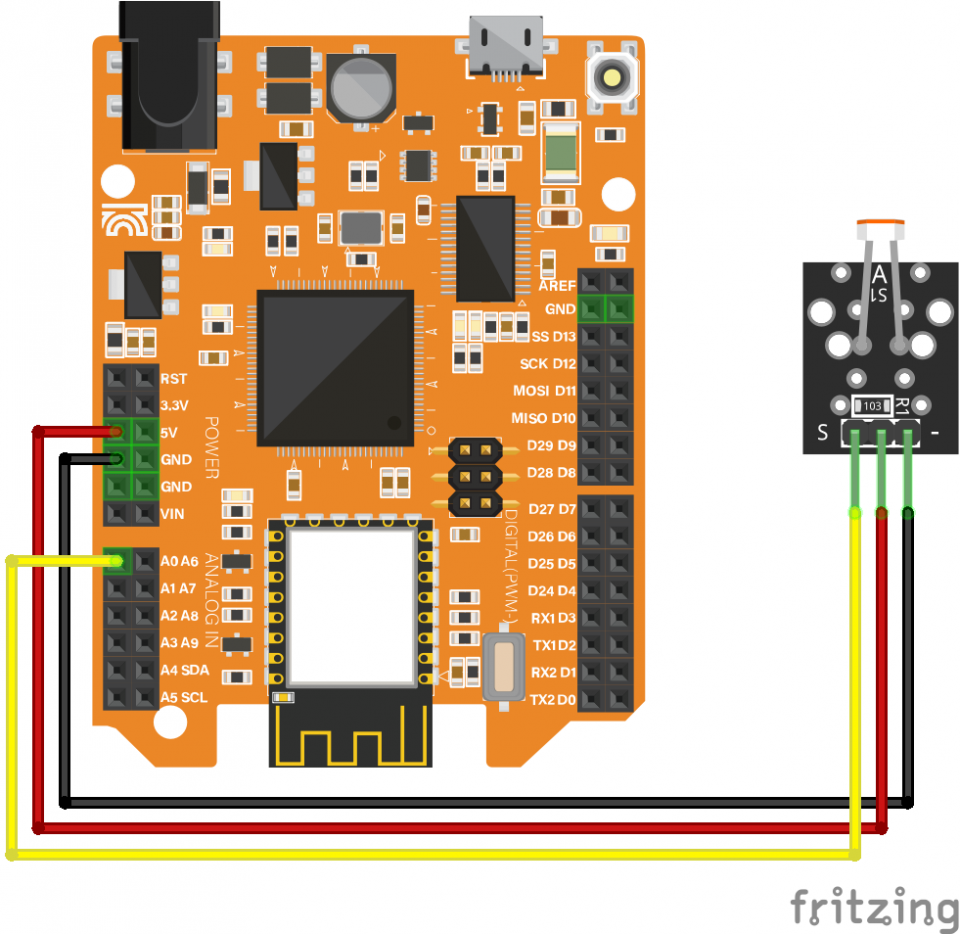
하드웨어 making
소프트웨어 coding
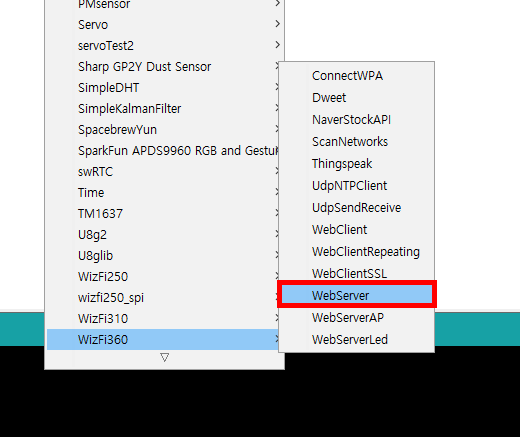
아두이노 IDE를 실행 후 파일 - 예제 - WizFi360 - WebServer를 실행합니다.
위 예제를 실행하면 아래 코드를 볼 수 있습니다.
#include "WizFi360.h"

/* Baudrate */
#define SERIAL_BAUDRATE   115200
#define SERIAL3_BAUDRATE  115200

char ssid[] = "SSID";       // your network SSID (name)
char pass[] = "PASS";   // your network password
int status = WL_IDLE_STATUS;  // the Wifi radio's status

int reqCount = 0;             // number of requests received

WiFiServer server(80);

void setup()
{
  // initialize serial for debugging
  Serial.begin(SERIAL_BAUDRATE);
  // initialize serial for WizFi360 module
  Serial3.begin(SERIAL3_BAUDRATE);
  // initialize WizFi360 module
  WiFi.init(&Serial3);

  // check for the presence of the shield
  if (WiFi.status() == WL_NO_SHIELD) {
    Serial.println("WiFi shield not present");
    // don't continue
    while (true);
  }

  // attempt to connect to WiFi network
  while ( status != WL_CONNECTED) {
    Serial.print("Attempting to connect to WPA SSID: ");
    Serial.println(ssid);
    // Connect to WPA/WPA2 network
    status = WiFi.begin(ssid, pass);
  }

  Serial.println("You're connected to the network");
  printWifiStatus();

  // start the web server on port 80
  server.begin();
}

void loop()
{
  // listen for incoming clients
  WiFiClient client = server.available();
  if (client) {
    Serial.println("New client");
    // an http request ends with a blank line
    boolean currentLineIsBlank = true;
    while (client.connected()) {
      if (client.available()) {
        char c = client.read();
        Serial.write(c);
        // if you've gotten to the end of the line (received a newline
        // character) and the line is blank, the http request has ended,
        // so you can send a reply
        if (c == '\n' && currentLineIsBlank) {
          Serial.println("Sending response");

          // send a standard http response header
          // use \r\n instead of many println statements to speedup data send
          client.print(
            "HTTP/1.1 200 OK\r\n"
            "Content-Type: text/html\r\n"
            "Connection: close\r\n"  // the connection will be closed after completion of the response
            "Refresh: 20\r\n"        // refresh the page automatically every 20 sec
            "\r\n");
          client.print("<!DOCTYPE HTML>\r\n");
          client.print("<html>\r\n");
          client.print("<h1>Hello World!</h1>\r\n");
          client.print("Requests received: ");
          client.print(++reqCount);
          client.print("<br>\r\n");
          client.print("Analog input A0: ");
          client.print(analogRead(0));
          client.print("<br>\r\n");
          client.print("</html>\r\n");
          break;
        }
        if (c == '\n') {
          // you're starting a new line
          currentLineIsBlank = true;
        }
        else if (c != '\r') {
          // you've gotten a character on the current line
          currentLineIsBlank = false;
        }
      }
    }
    // give the web browser time to receive the data
    delay(10);

    // close the connection:
    client.stop();
    Serial.println("Client disconnected");
  }
}

void printWifiStatus()
{
  // print the SSID of the network you're attached to
  Serial.print("SSID: ");
  Serial.println(WiFi.SSID());

  // print your WiFi shield's IP address
  IPAddress ip = WiFi.localIP();
  Serial.print("IP Address: ");
  Serial.println(ip);

  // print where to go in the browser
  Serial.println();
  Serial.print("To see this page in action, open a browser to http://");
  Serial.println(ip);
  Serial.println();
}
char ssid[] = "SSID";      // your network SSID (name)
char pass[] = "PASS";      // your network password
코드의 윗 부분에서 이 부분에 현재 접속 환경에서의 WiFi ssid와 Password를 작성하고 코드를 업로드 한 뒤,
IDE의 시리얼 모니터을 열면 아래와 같은 화면을 볼 수 있습니다.
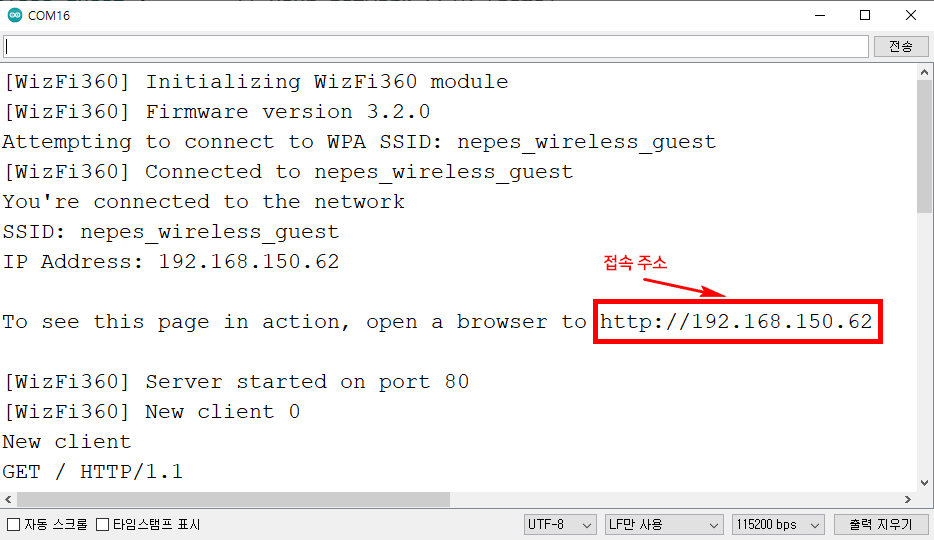
위와 같이 떴을 때 서버에 접속하기 위한 주소가 나오게 되며 위 주소로 웹브라우저에서 접속 시 아래와 같은 화면을 볼 수 있습니다.
※ 서버로 접속하기 위해서는 접속하려는 클라이언트 또한 서버(WiFi+보드)와 동일한 WiFi환경에 연결되어 있어야 합니다.
같은 망에 연결되어 있지 않는 경우 위 주소로 연결이 불가능합니다.
ex)WiFi보드 - WiFi연결, 클라이언트 - 이더넷 연결 (연결 안됨)
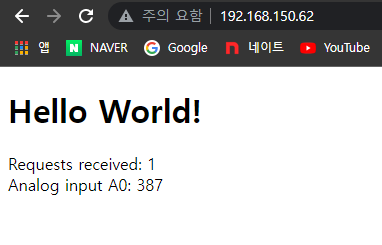
웹브라우저에서는 코드에서 작성한 html를 출력하게 되며 이 코드에서는
- 요청횟수(reqCount, 리프레시 될때마다 1씩 증가)
- 아날로그0번핀 센서값(analogRead(0))
을 출력합니다.

이렇게 html을 사용하면 다양한 웹페이지를 만들어 볼 수 있습니다.
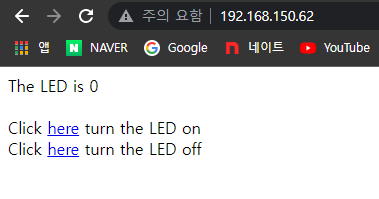
또 다른 예제로 WizFi360의 예제 중 WebServerLed를 실행하면
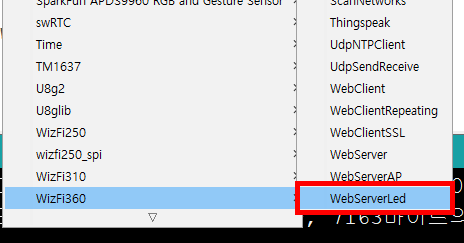
아래와 같이 버튼을 제어할 수 있는 웹페이지를 만들어 볼 수 있습니다.
here를 클릭하여 OrangeBoard WiFi+의 내장LED인 13번 LED를 켜고 끌 수 있습니다.
그 밖에 다른 html태그를 사용하면 버튼이나, 이미지 삽입, 드롭다운, 파싱데이터 출력 등 간단하게 웹서버를 구현해 볼 수 있습니다.


kocoafabeditor 
항상 진취적이고, 새로운 것을 추구하는 코코아팹 에디터입니다!

