2015-04-17 11:34:21
이번에는 웹캠으로 모션을 트랙킹해 아두이노를 제어해 보겠습니다.
우선 웹캠에 대해 살펴볼까요?
웹캠(webcam)이란 개인용 컴퓨터에 다는 카메라로서, USB, 이더넷, 와이파이 등을 통해 컴퓨터나 컴퓨터 네트워크에 실시간으로 이미지를 공급하는 장치를 말합니다.
사전 출처 : 위키백과
사진 출처 : HP 5210 webcam - HP
요즘에는 노트북 사용자가 많아지면서, 노트북에 웹캠이 내장되어 있기에 쉽게 웹캠을 접할 수 있을 것입니다.
이번 튜토리얼에서는 웹캠에 관련된 프로세싱 라이브러리를 사용하여, 모션을 트랙킹해 아두이노를 제어해 보겠습니다.
모션 트랙킹? 어디서 많이 들어보시지 않았나요? 모션 트랙킹이란 사용자의 움직임을 감지하는 것인데요.
저희 kocoafab에서도 키넥트를 이용해 모션을 트랙킹하여 아두이노를 제어하는 튜토리얼을 제공한 적 있습니다.
프로세싱 라이브러리를 이용하면, 웹캠을 이용해서도 키넥트와 비슷한 작업을 할 수 있는데요.
키넥트와 비교해 보았을 때, 웹캠의 장점은 가격이 저렴하다는 점입니다. 노트북 사용자 분들께서는 따로 구입할 필요도 없겠죠?
하지만 단점은 키넥트처럼 x, y, z의 정확한 수치를 제공해주지 못한다는 한계를 가지고 있습니다.
웹캠과 관련된 프로세싱 라이브러리는 굉장히 다양한데요. 이번 튜토리얼에서는 웹캠 라이브러리 중 많이 쓰이는 JMyron을 이용해보겠습니다. 자 그럼 시작해볼까요?
Jmyron 라이브러리 추가
프로세싱에서 라이브러리를 추가하는 방법은 아두이노와 크게 다르지 않지만, 다른 라이브러리와 다르게 JMyron 라이브러리는 추가 방법이 조금 까다롭습니다.
천천히 따라해 보시죠! 프로세싱을 아직 설치하지 않으신 분들은 시작전 개념 이해하기의 프로세싱 링크를 이용해 설치 방법을 배워보세요.
1, Jmyron 라이브러리 다운로드
라이브러를 사용하려면 우선 라이브러리를 다운 받아야겠죠?
아래 링크를 이용해 Jmyron을 다운 받으시면 됩니다.
2. Jmyron 파일 압축 해제 후 이동
다운 받은 Jmyron 파일의 압축을 해제합니다.
다음과 같이 3개의 폴더와 1개의 메모장으로 구성되어 있습니다.
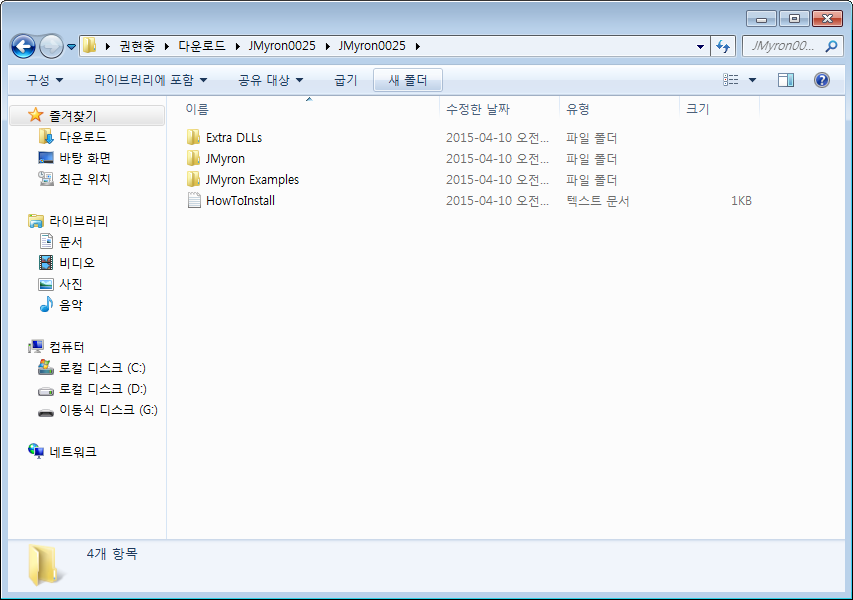
* howToInstall 파일을 열어보시면, 설치 방법이 나와있습니다.
이제 프로세싱 폴더를 열어 아래 사진과 같은 디렉토리로 이동합니다.
[procesing]-[modes]-[java]
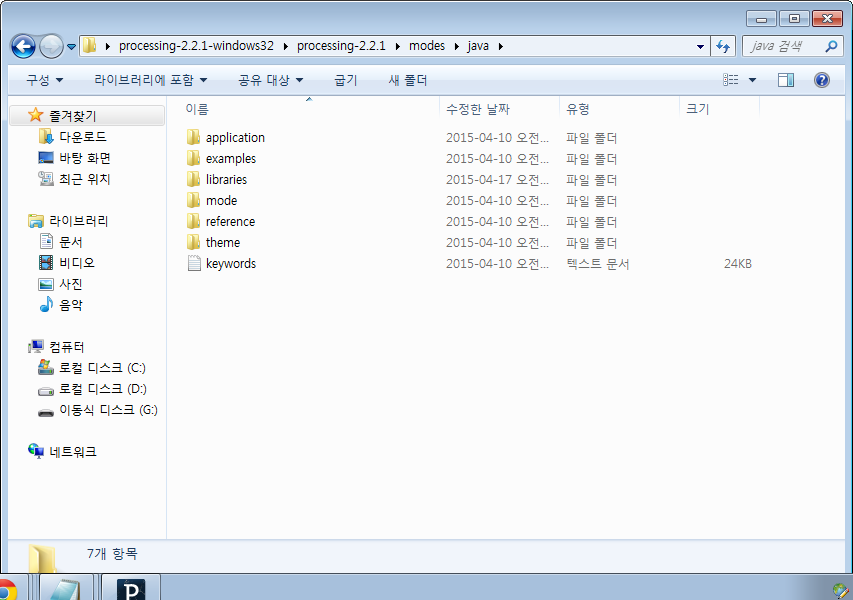
- JMyron0025 폴더 안에 있는 JMyron 폴더를 열어논 프로세싱 디렉토리의 libaries 폴더 안으로 이동시킵니다.
- JMyron0025 폴더 안에 있는 JMyron Examples 폴더를 프로세싱 디렉토리의 examples 폴더 안으로 이동시킵니다.
- [JMyron0025] - [Extra DLLs] 안에 있는 2개의 dll 파일을 [C드라이브] - [windows] - [System32] 폴더 안으로 이동시킵니다.
자! 이제 프로세싱에 JMyron 라이브러리가 추가되었습니다.
| 부품명 | 오렌지보드 | 웹캠 |
| 파트 | 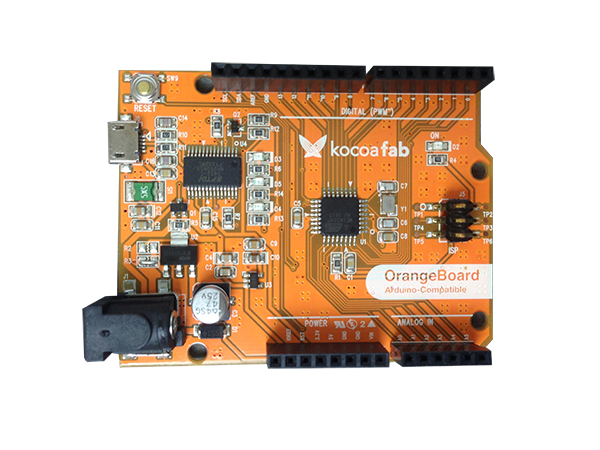 |
 |
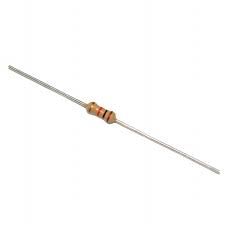
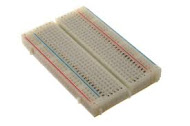
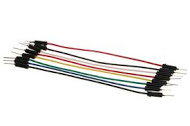
| 부품명 | LED | 330Ω 저항 | 브레드보드 | 점퍼케이블 |
| 파트 | 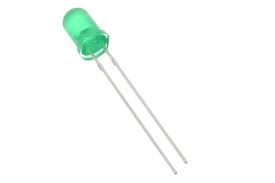 |
 |
 |
 |
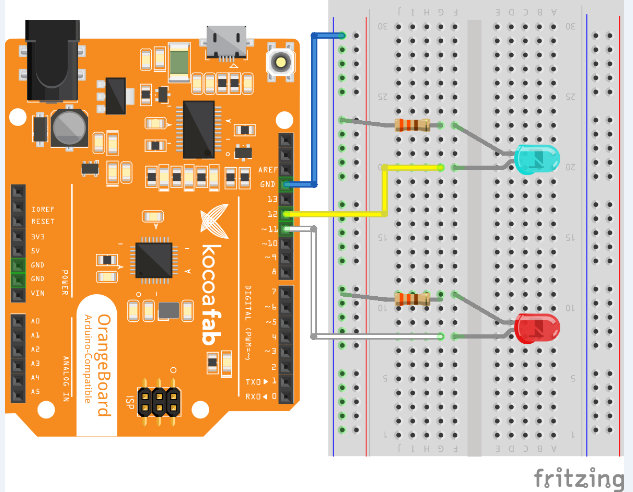
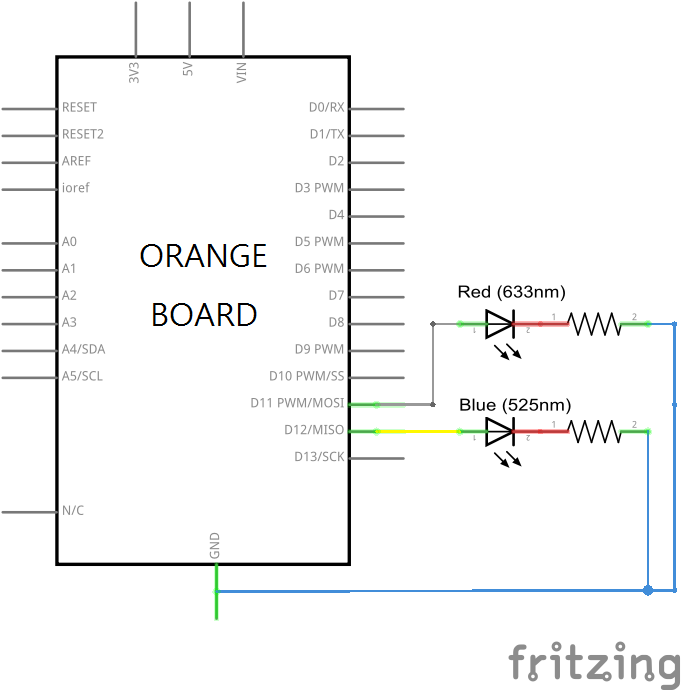
이제 하드웨어 메이킹에 대해 알아보겠습니다.
1. 오렌지보드의 GND 핀을 브레드 보드의 -버스에 연결합니다.
2. RED LED와 BLUE LED의 애노드(긴 단자)가 아래쪽으로 향하게 하여 꽂습니다.
3. RED LED의 애노드와 오렌지 보드의 D11를 연결합니다.
4. BLUE LED의 애노드와 오렌지 보드의 D12를 연결합니다.
5. RED LED와 BLUE LED의 남은 단자에 각각 330Ω 저항을 연결합니다.
6. 저항의 남은 단자를 브레드 보드의 -버스에 연결합니다.
/*
the green oval is an averaged position of all the detected dark movement in the camera's view.
physical setup:
- make sure there is a strong value contrast between your hand and a white background.
- set all camera settings to "manual" for the most stable results.
last tested to work in Processing 0090
JTNIMOY
*/
//JMyron 라이브러리 예제를 kocoa fab 튜토리얼에 맞게 수정한 것 입니다.
import JMyron.*;
import processing.serial.*;
JMyron m;//a camera object
Serial port;
//variables to maintain the floating green circle
float objx = 160;
float objy = 120;
float objdestx = 160;
float objdesty = 120;
int opacity=40;
void setup(){
size(640,480);
m = new JMyron();//make a new instance of the object
m.start(width,height);//start a capture at 320x240
m.trackColor(255,255,255,256*3-100);//track white
m.update();
m.adaptivity(10);
m.adapt();// immediately take a snapshot of the background for differencing
println("Available serial ports:");
println(Serial.list());
port = new Serial(this, Serial.list()[0], 9600);
println("Myron " + m.version());
rectMode(CENTER);
noStroke();
}
void draw(){
m.update();//update the camera view
drawCamera();
int[][] centers = m.globCenters();//get the center points
//draw all the dots while calculating the average.
float avX=0;
float avY=0;
fill(255,0,0,opacity);
rect(0,0,640,1000);
fill(0,0,255,opacity);
rect(640,0,640,1000);
for(int i=0;i<centers.length;i++){
fill(80);
rect(centers[i][0],centers[i][1],5,5);
avX += centers[i][0];
avY += centers[i][1];
}
if(centers.length-1>0){
avX/=centers.length-1;
avY/=centers.length-1;
}
//draw the average of all the points in red.
fill(255,0,0);
rect(avX,avY,5,5);
//update the location of the thing on the screen.
if(!(avX==0&&avY==0)&¢ers.length>0){
objdestx = avX;
objdesty = avY;
}
objx += (objdestx-objx)/10.0f;
objy += (objdesty-objy)/10.0f;
fill(30,100,0);
ellipseMode(CENTER);
ellipse(objx,objy,30,30);
if(objx<300){
port.write(1);
println(" turn on the red led");
}
else {
port.write(2);
println(" turn on the blue led");
}
}
void drawCamera(){
int[] img = m.differenceImage(); //get the normal image of the camera
loadPixels();
for(int i=0;i<height*width;i++){ //loop through all the pixels
pixels[i] = img[i]; //draw each pixel to the screen
}
updatePixels();
}
void mousePressed(){
m.settings();//click the window to get the settings
}
public void stop(){
m.stop();//stop the object
super.stop();
}
int redLed=11;
int blueLed=12;
int fromProcessing;

void setup() {
	Serial.begin(9600);
	pinMode(redLed,OUTPUT);
	pinMode(blueLed,OUTPUT);
}

void loop() {
	if (Serial.available()) {
		fromProcessing=Serial.read();

		if (fromProcessing==1) {
			digitalWrite(redLed,HIGH);
			digitalWrite(blueLed,LOW);

		} else if (fromProcessing==2) {
			digitalWrite(redLed,LOW);
			digitalWrite(blueLed,HIGH);
		}
	}
}
보시는 것과 같이 빨간색 영역에서 모션이 감지되면, 빨간색 LED가 켜지고, 파란색 영역에서 모션이 감지되면 파란색 LED가 켜집니다.

kocoafabeditor 
항상 진취적이고, 새로운 것을 추구하는 코코아팹 에디터입니다!
 웹캠, webcam, 아두이노, 오렌지보드


