Thermal Flash 만들기
2014-12-19 15:15:47
개요
본 프로젝트를 진행하기에 앞서 아래의 예제를 먼저 학습해 주세요.
열적외선 온도 센서 사용하기
이번 프로젝트에서는 열적외선 온도센서를 이용하여
주변 온도가 낮을때는 '파란색'을,
주변 온도가 평균일때는 '초록색'을,
주변 온도가 높을때는 '빨간색'을 나타내는
Thermal Flash(열적외선 랜턴)를 만들어 보겠습니다.
이를 응용하면 아래와 같은 '열화상 이미지'를 만들어 볼 수 있습니다.
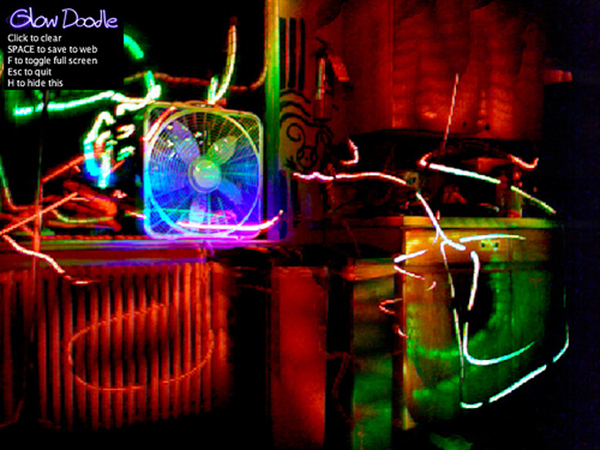
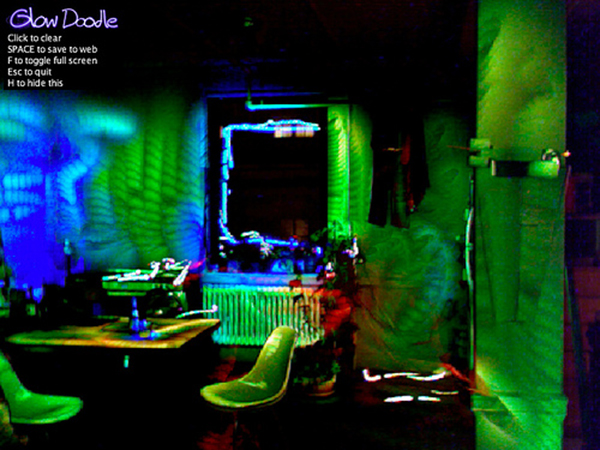
DSLR과 같이 카메라의 조리개와 셔터스피드를 조절할 수 있는 카메라를 이용하여
조리개 값을 F22 / 셔터스피드는 30" 이상의 장노출로 셋팅을 한뒤, 셔터를 누르고
열적외선 랜턴을 이용하여 주변 사물이나 공간을 '스캔'하듯 비춰주면,
그 공간의 열화상 이미지를 얻을 수 있습니다.
물론 해당 공간에 랜턴외에 다른 '광원-빛'은 없는 상태여야 하고,
카메라는 고정된 상태로 촬영해야 합니다.
열적외선 온도 센서 사용하기
이번 프로젝트에서는 열적외선 온도센서를 이용하여
주변 온도가 낮을때는 '파란색'을,
주변 온도가 평균일때는 '초록색'을,
주변 온도가 높을때는 '빨간색'을 나타내는
Thermal Flash(열적외선 랜턴)를 만들어 보겠습니다.
이를 응용하면 아래와 같은 '열화상 이미지'를 만들어 볼 수 있습니다.


DSLR과 같이 카메라의 조리개와 셔터스피드를 조절할 수 있는 카메라를 이용하여
조리개 값을 F22 / 셔터스피드는 30" 이상의 장노출로 셋팅을 한뒤, 셔터를 누르고
열적외선 랜턴을 이용하여 주변 사물이나 공간을 '스캔'하듯 비춰주면,
그 공간의 열화상 이미지를 얻을 수 있습니다.
물론 해당 공간에 랜턴외에 다른 '광원-빛'은 없는 상태여야 하고,
카메라는 고정된 상태로 촬영해야 합니다.
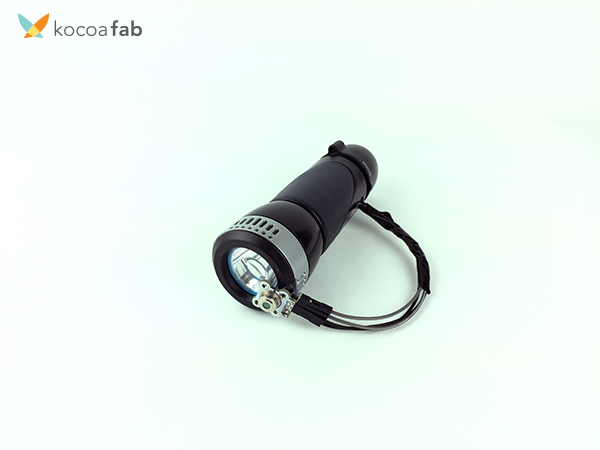
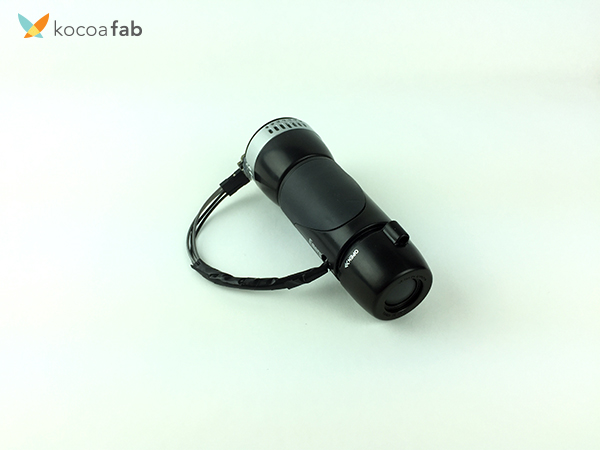
전체적인 외형의 모습입니다.
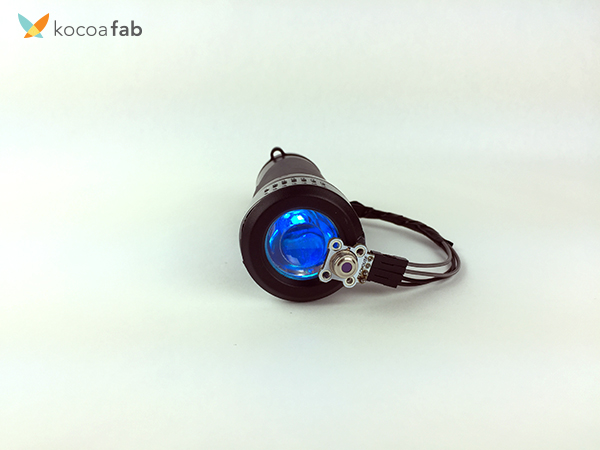
주변 온도가 낮을때는 LED의 색상이 '파란색'이 됩니다.
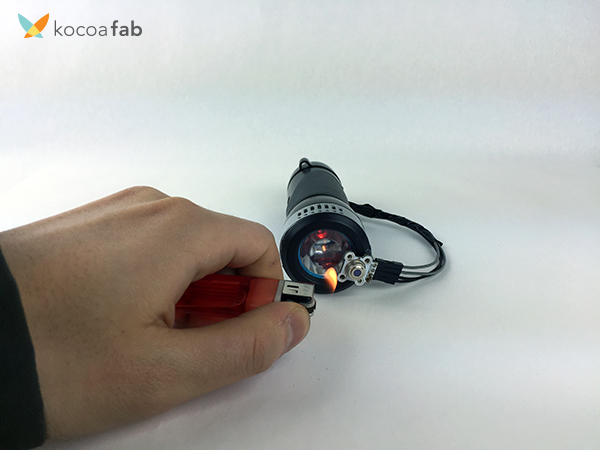
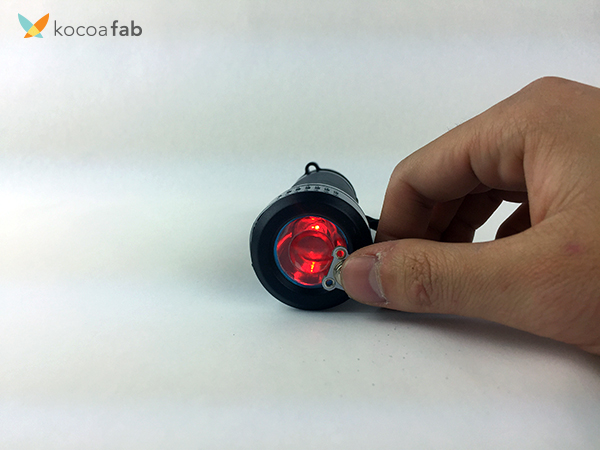
주변 온도가 높을때는 LED의 색상이 '빨간색'이 됩니다.
이 프로젝트를 따라 열적외선 랜턴을 만들어 보고,
주변 공간에서 찬바람이 들어오는 빈틈이나, 주변의 숨겨진 온기를 찾아보세요!
혹은 스케치를 수정하여 '신체 발열 감지 장치'를 만들어 보세요 !
미리보기 동영상


주변 온도가 높을때는 LED의 색상이 '빨간색'이 됩니다.
이 프로젝트를 따라 열적외선 랜턴을 만들어 보고,
주변 공간에서 찬바람이 들어오는 빈틈이나, 주변의 숨겨진 온기를 찾아보세요!
혹은 스케치를 수정하여 '신체 발열 감지 장치'를 만들어 보세요 !
미리보기 동영상
시작 전 개념 이해하기
부품목록
| NO | 부품명 | 수량 | 상세설명 |
| 1 | 아두이노 프로 미니 | 1 | 3.3V / 16Mhz |
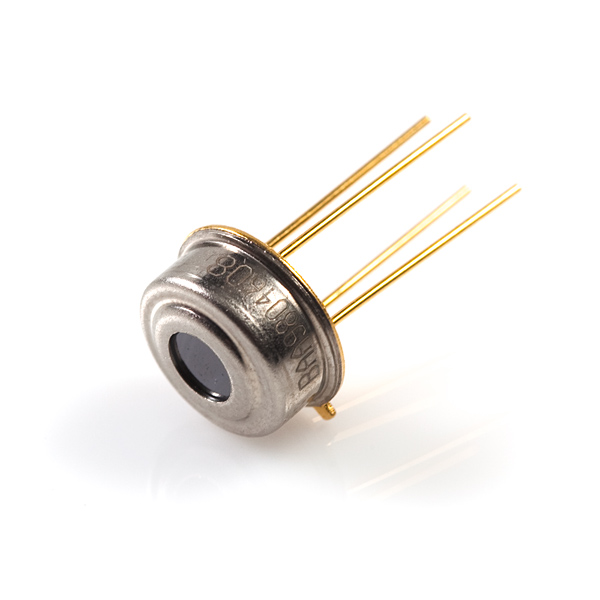
| 2 | 열적외선 온도 센서 | 1 | MLX90614 |
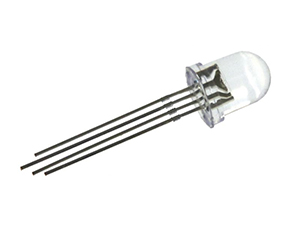
| 3 | RGB LED | 1 | LED |
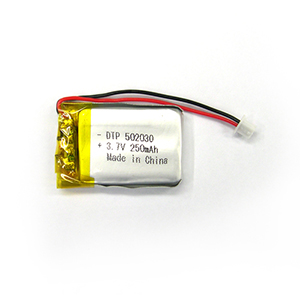
| 4 | 3.7v리튬 전지 | 1 | 2.5 cm X 2 cm / 240mAh 3.7v |
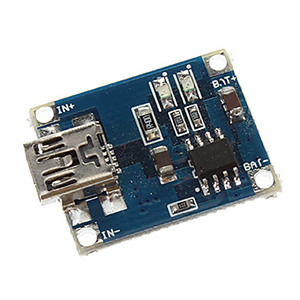
| 5 | 리튬전지 충전모듈 | 1 | TP4056 |
| 6 | 220 옴 저항 | 1 | 220옴 저항 |
| 7 | 100 옴 저항 | 2 | 100옴 저항 |
| 8 | 점퍼케이블 | 6 | 암/수 케이블 |
| 9 | 전선 | 1 | 강선 |
| 10 | 인두 | 1 | 인두 |
| 11 | 납 | 1 | 납 |
| 12 | 드레멜 | 1 | 다용도 전동 공구 |
| 13 | 손전등 | 1 | 에너자이저 LED 43A1 랜턴 겸용 손전등 |
| 부품명 | 아두이노 프로 미니 | 열적외선 온도 센서 | RGB LED | 3.7v 리튬 전지 | 리튬전지 충전모듈 |
| 파트 | 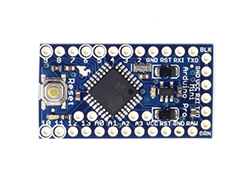 x1 x1 |
 x1 x1 |
 x1 x1 |
 x1 x1 |
 x1 x1 |
| 파트 | 220옴 저항 | 100옴 저항 | 점퍼 케이블 | 전선 | 인두 |
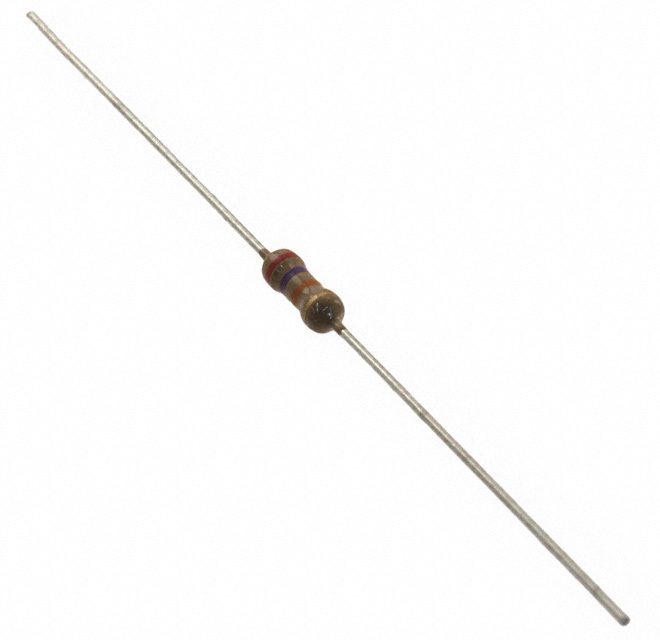 x1 x1 |
 x2 x2 |
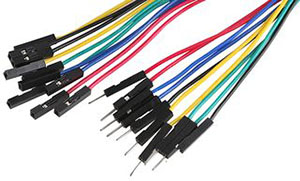 x6 x6 |
 x1 x1 |
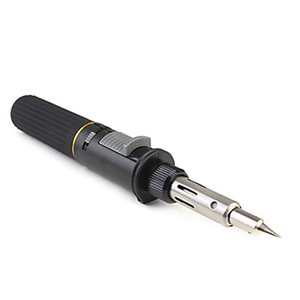 x1 x1 |
|
| 파트 | 납 | 드레멜 | 손전등 | ||
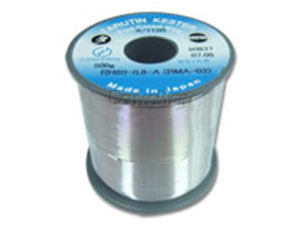 x1 x1 |
 x1 x1 |
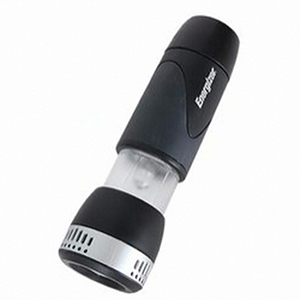 x1 x1 |
하드웨어 Making
회로도
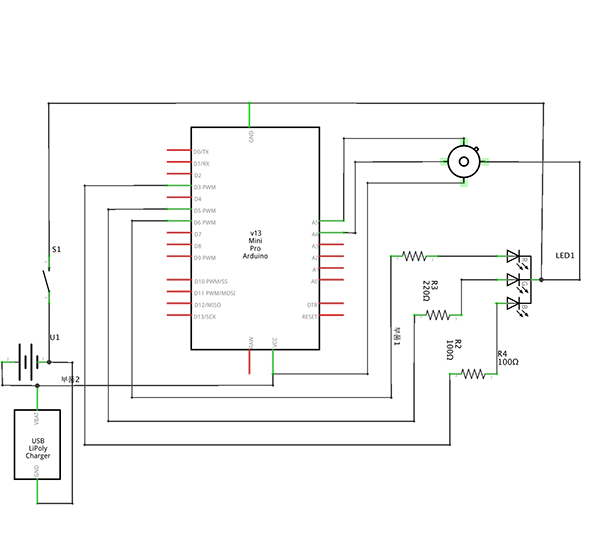
브레드보드 레이아웃
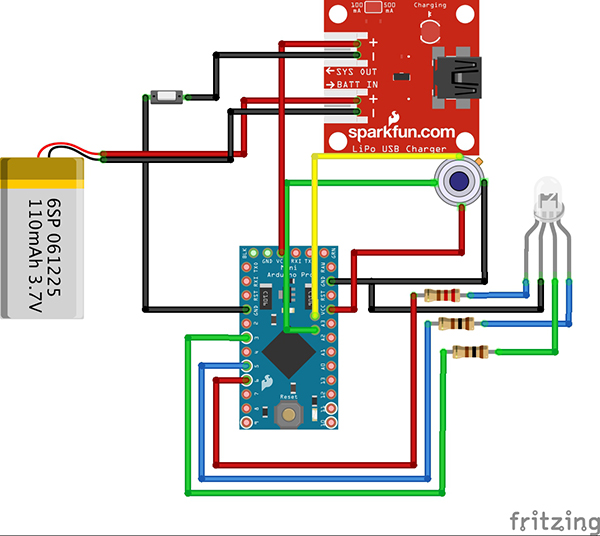
열적외선 온도센서 연결 방법
| IR Temp | 아두이노 |
| VCC | 5V |
| GND | GND |
| SDA | A4 |
| SCL | A5 |
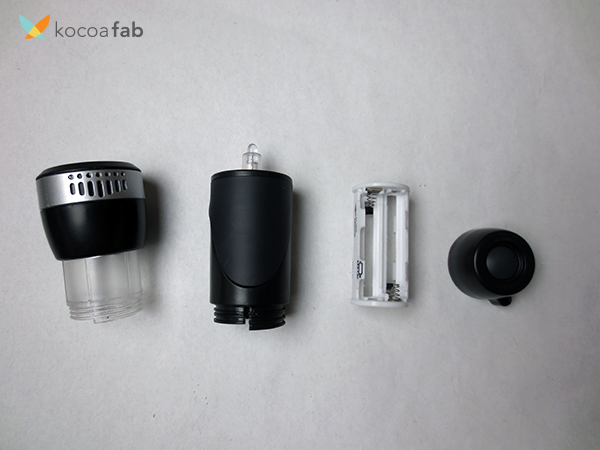
편의점에서 공수해온 랜턴 겸용 손전등입니다.
렌즈가 부착된 '헤드'와 LED가 부착된 '바디'
그리고 '건전지 홀더'와 '푸시버튼 스위치'로 구성되어 있습니다.
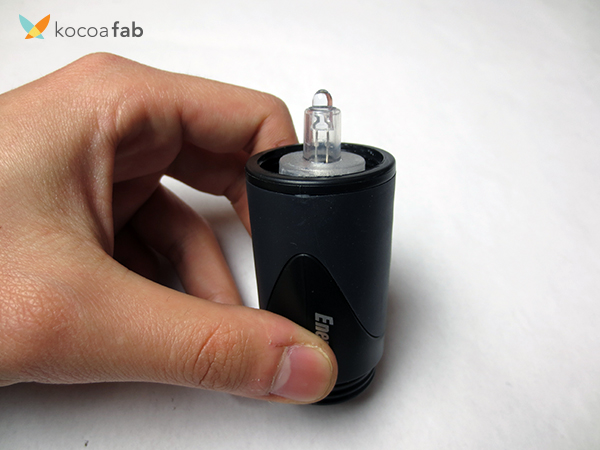
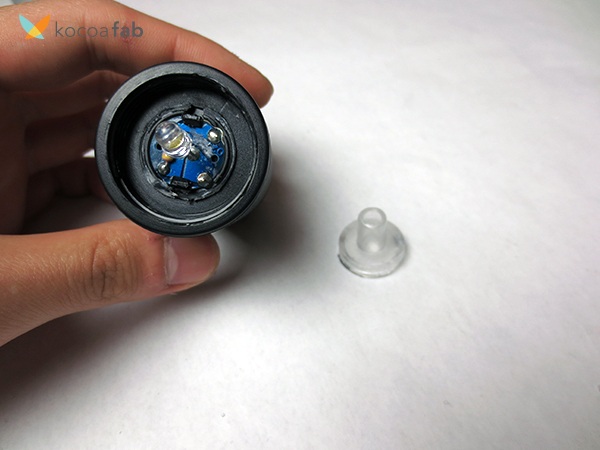
바디부분에 부착된 LED에는 플라스틱 캡으로 고정되어 있는데요,
이 투명한 플라스틱 캡을 해체하고 기존에 고정된 LED 모듈을 제거해 주세요.
(플라스틱 캡은 공구를 이용하여 비틀어주시면 쉽게 부러집니다.)
(하지만 RGB LED를 연결하고 다시 '순간 접착제' 혹은 '글루건'으로 고정해 주어야 합니다.)
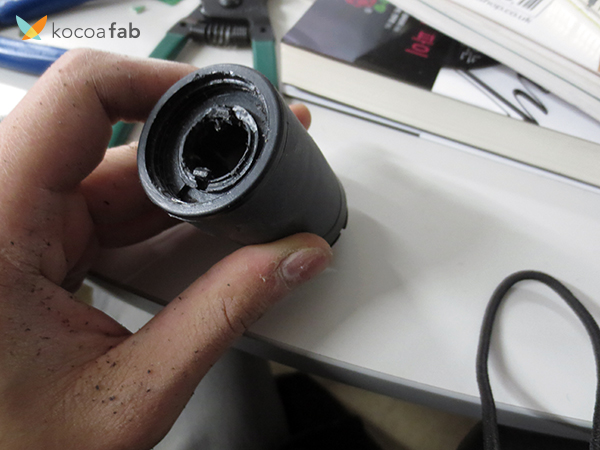
LED모듈을 제거하고 막혀있는 부분에 '드레멜'과 '엔그레이빙' 날로
RGB LED가 들어갈 구멍을 뚫어 주세요.
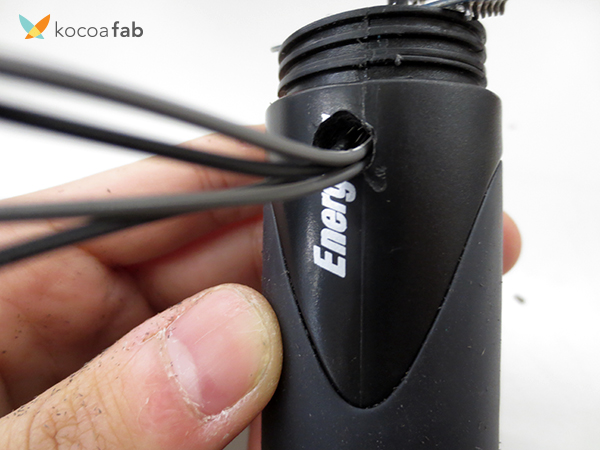
'바디' 옆 부분에는 점퍼케이블 4개가 여유롭게 통과할수 있을 정도의 구멍을 뚫어 줍니다.
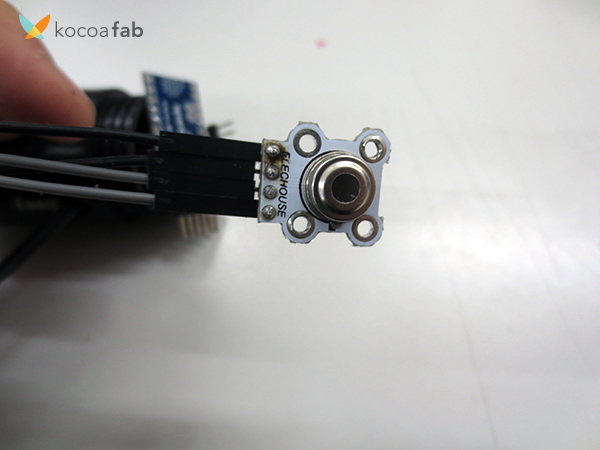
4개의 점퍼케이블은 '열적외선 온도센서'와 연결시켜 줍니다.
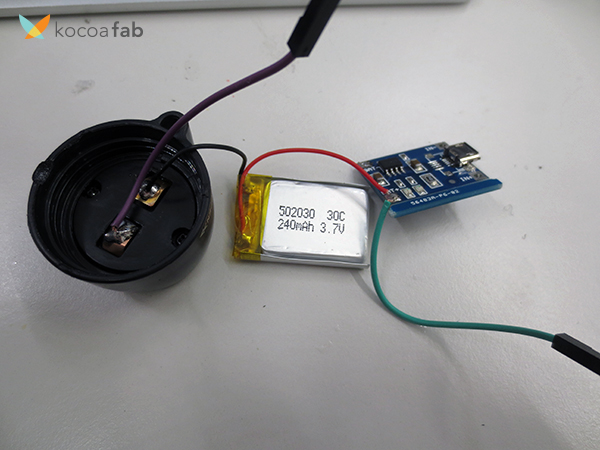
푸시버튼 스위치 파트는 리튬 전지 와 충전 모듈을 '납땜'하여 연결해줍니다.
푸시버튼을 1회 누르면 전원이 연결되고 다시 1회 누르면 전원이 차단됩니다.
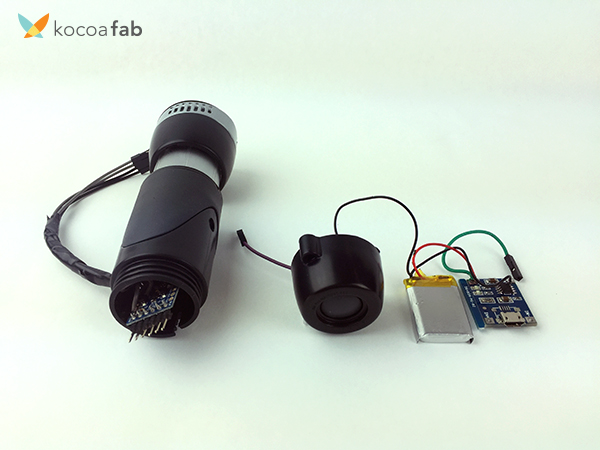
납땝한 스위치와 리튬전지를 아두이노 프로 미니와 연결해 보겠습니다.
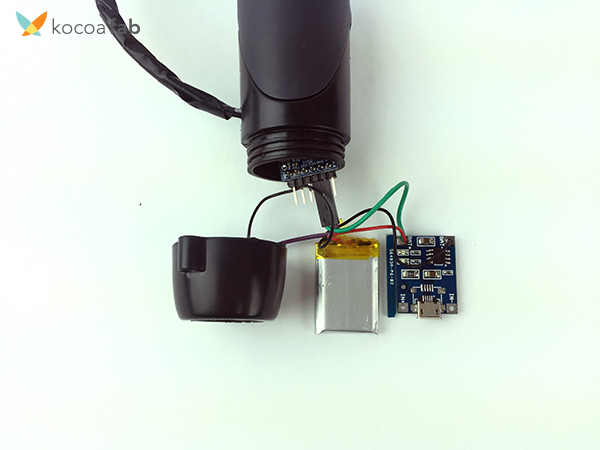
리튬전지의 그라운드(-)에서는 2가닥의 전선을 사용합니다.
하나는 충전 모듈 BAT (-)에 연결하고,
나머지 하나는 푸시버튼의 단자중 한곳에 연결합니다.
그리고 푸시버튼의 단자중 나머지 한곳에 전선을 납땜하여,
아두이노의 GND와 연결합니다.
리튬전지의 VCC(+)는 충전모듈의 BAT(+)에 연결하고,
충전 모듈의 BAT(+)에서 아두이노의 VCC로 연결합니다.
리튬전지 + > 충전모듈 + > 아두이노 VCC
리튬전지 - > 1. 충전모듈 -
2. 푸시버튼 한쪽 단자
푸시버튼의 나머지 한쪽 단자 >> 아두이노 GND
의 흐름으로 연결해 주시면 됩니다.
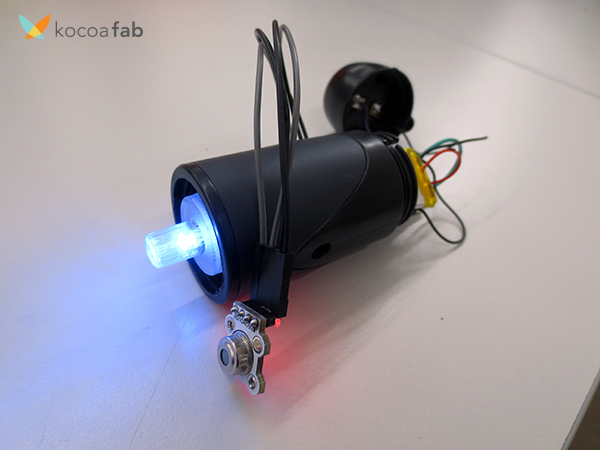
RGB LED는 아두이노 프로미니와 연결한 뒤 '글루건'을 듬뿍 발라 해당 위치에 고정시켜 줍니다.
RGB LED가 들어갈 구멍을 뚫어 주세요.

'바디' 옆 부분에는 점퍼케이블 4개가 여유롭게 통과할수 있을 정도의 구멍을 뚫어 줍니다.

4개의 점퍼케이블은 '열적외선 온도센서'와 연결시켜 줍니다.

푸시버튼 스위치 파트는 리튬 전지 와 충전 모듈을 '납땜'하여 연결해줍니다.
푸시버튼을 1회 누르면 전원이 연결되고 다시 1회 누르면 전원이 차단됩니다.

납땝한 스위치와 리튬전지를 아두이노 프로 미니와 연결해 보겠습니다.

리튬전지의 그라운드(-)에서는 2가닥의 전선을 사용합니다.
하나는 충전 모듈 BAT (-)에 연결하고,
나머지 하나는 푸시버튼의 단자중 한곳에 연결합니다.
그리고 푸시버튼의 단자중 나머지 한곳에 전선을 납땜하여,
아두이노의 GND와 연결합니다.
리튬전지의 VCC(+)는 충전모듈의 BAT(+)에 연결하고,
충전 모듈의 BAT(+)에서 아두이노의 VCC로 연결합니다.
리튬전지 + > 충전모듈 + > 아두이노 VCC
리튬전지 - > 1. 충전모듈 -
2. 푸시버튼 한쪽 단자
푸시버튼의 나머지 한쪽 단자 >> 아두이노 GND
의 흐름으로 연결해 주시면 됩니다.

RGB LED는 아두이노 프로미니와 연결한 뒤 '글루건'을 듬뿍 발라 해당 위치에 고정시켜 줍니다.

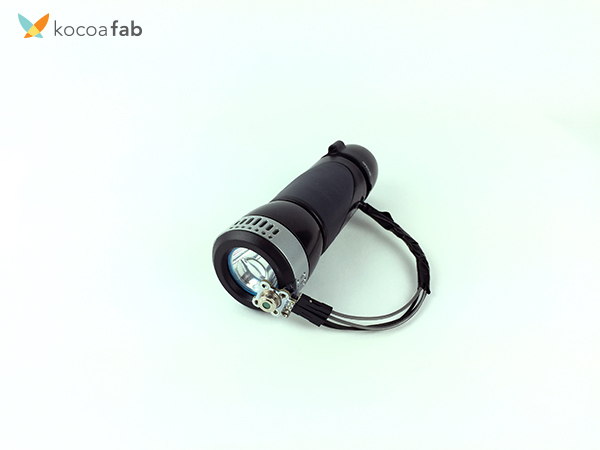
최종 완성된 열적외선 랜턴의 모습입니다.
렌즈 부분의 열적외선 온도센서는 글루건으로 고정해 주었습니다.
렌즈 부분의 열적외선 온도센서는 글루건으로 고정해 주었습니다.
소프트웨어 Coding
아래의 링크를 통해 라이브러리를 다운로드 받고,압축을 해제한 뒤 하위 폴더를 Document > Arduino > Library 에 넣어주세요.
I2C master
아래의 소스코드를 아두이노에 업로드 합니다.
                                                                                                                   // MLX90614 IR Thermometer Library here: http://bildr.org/2011/02/mlx90614-arduino/
// Instructions for wiring thermometer here: http://www.arduino.cc/cgi-bin/yabb2/YaBB.pl?num=1214872633
// RGB LED wiring and simple fading sketch: http://wiring.org.co/learning/basics/rgbled.html


#include <i2cmaster.h>

int rawSensorValue = 0;  // variable to store the value coming from the sensor
int mappedSensorValue = 0;  // maps range of rawSensorVale and constrains it between 0 and 255

int minF = -40;  // min range of sensor is -40C = -40F
int maxF = 57;  // max range of sensor is 125C = 257F

// set your thresholds for temperatures here
int cold = 60;
int normal = 90;
int hot = 100;

int REDPin = 6;    // RED pin of the LED to PWM pin 6
int GREENPin = 5;  // GREEN pin of the LED to PWM pin 5
int BLUEPin = 3;   // BLUE pin of the LED to PWM pin 3
int brightness = 0; // LED brightness

void setup(){
  Serial.begin(9600);
  Serial.println("Setup...");

  i2c_init(); //Initialise the i2c bus
  PORTC = (1 << PORTC4) | (1 << PORTC5);//enable pullups

  pinMode(REDPin, OUTPUT);
  pinMode(GREENPin, OUTPUT);
  pinMode(BLUEPin, OUTPUT);
  Serial.begin(9600);
}


void loop(){
  int dev = 0x5A<<1;
  int data_low = 0;
  int data_high = 0;
  int pec = 0;

  i2c_start_wait(dev+I2C_WRITE);
  i2c_write(0x07);

  // read
  i2c_rep_start(dev+I2C_READ);
  data_low = i2c_readAck(); //Read 1 byte and then send ack
  data_high = i2c_readAck(); //Read 1 byte and then send ack
  pec = i2c_readNak();
  i2c_stop();

  //This converts high and low bytes together and processes temperature,
  //MSB is a error bit and is ignored for temps
  double tempFactor = 0.02; // 0.02 degrees per LSB (measurement resolution of the MLX90614)
  double tempData = 0x0000; // zero out the data
  int frac; // data past the decimal point

  // This masks off the error bit of the high byte, then moves it left 8 bits and adds the low byte.
  tempData = (double)(((data_high & 0x007F) << 8) + data_low);
  tempData = (tempData * tempFactor)-0.01;

  float celcius = tempData - 273.15;
  float fahrenheit = (celcius*1.8) + 32;

  Serial.print("Celcius: ");
  Serial.println(celcius);

  Serial.print("Fahrenheit: ");
  Serial.println(fahrenheit);


  rawSensorValue = fahrenheit;
  // 센서 값을 0부터 255의 값으로 변경
  mappedSensorValue = map( mappedSensorValue, minF, maxF, 0, 255);


  if ((rawSensorValue>=minF) && (rawSensorValue<=cold)) {
    Serial.println("getting colder"); // Blue 색상 출력
    analogWrite(REDPin, 0);
    analogWrite(GREENPin, (255-mappedSensorValue));
    analogWrite(BLUEPin, mappedSensorValue);
  }

  if ((rawSensorValue>cold) && (rawSensorValue<=normal)) {
    Serial.println("normal temp."); // Green 색상 출력
    analogWrite(REDPin, 0);
    analogWrite(GREENPin, mappedSensorValue);
    analogWrite(BLUEPin, (255-mappedSensorValue));
  }

  if ((rawSensorValue>normal) && (rawSensorValue<hot)) {
    Serial.println("getting hot in here!"); // Red 색상 출력
    analogWrite(REDPin, mappedSensorValue);
    analogWrite(GREENPin, 0);
    analogWrite(BLUEPin, 0);
  }

   if (rawSensorValue>=hot && rawSensorValue<maxF) {
    Serial.println("over heated!"); // White색상 출력
    analogWrite(REDPin, mappedSensorValue);
    analogWrite(GREENPin, mappedSensorValue);
    analogWrite(BLUEPin, mappedSensorValue);
  }

  delay(1000); // 1초동안 대기
}
기술문서
- 부품목록
- 회로도
- 브레드보드 레이아웃
- 스케치

kocoafab
 아두이노,광학식온도센서,MLX90614,손전등,ThermalFlash


